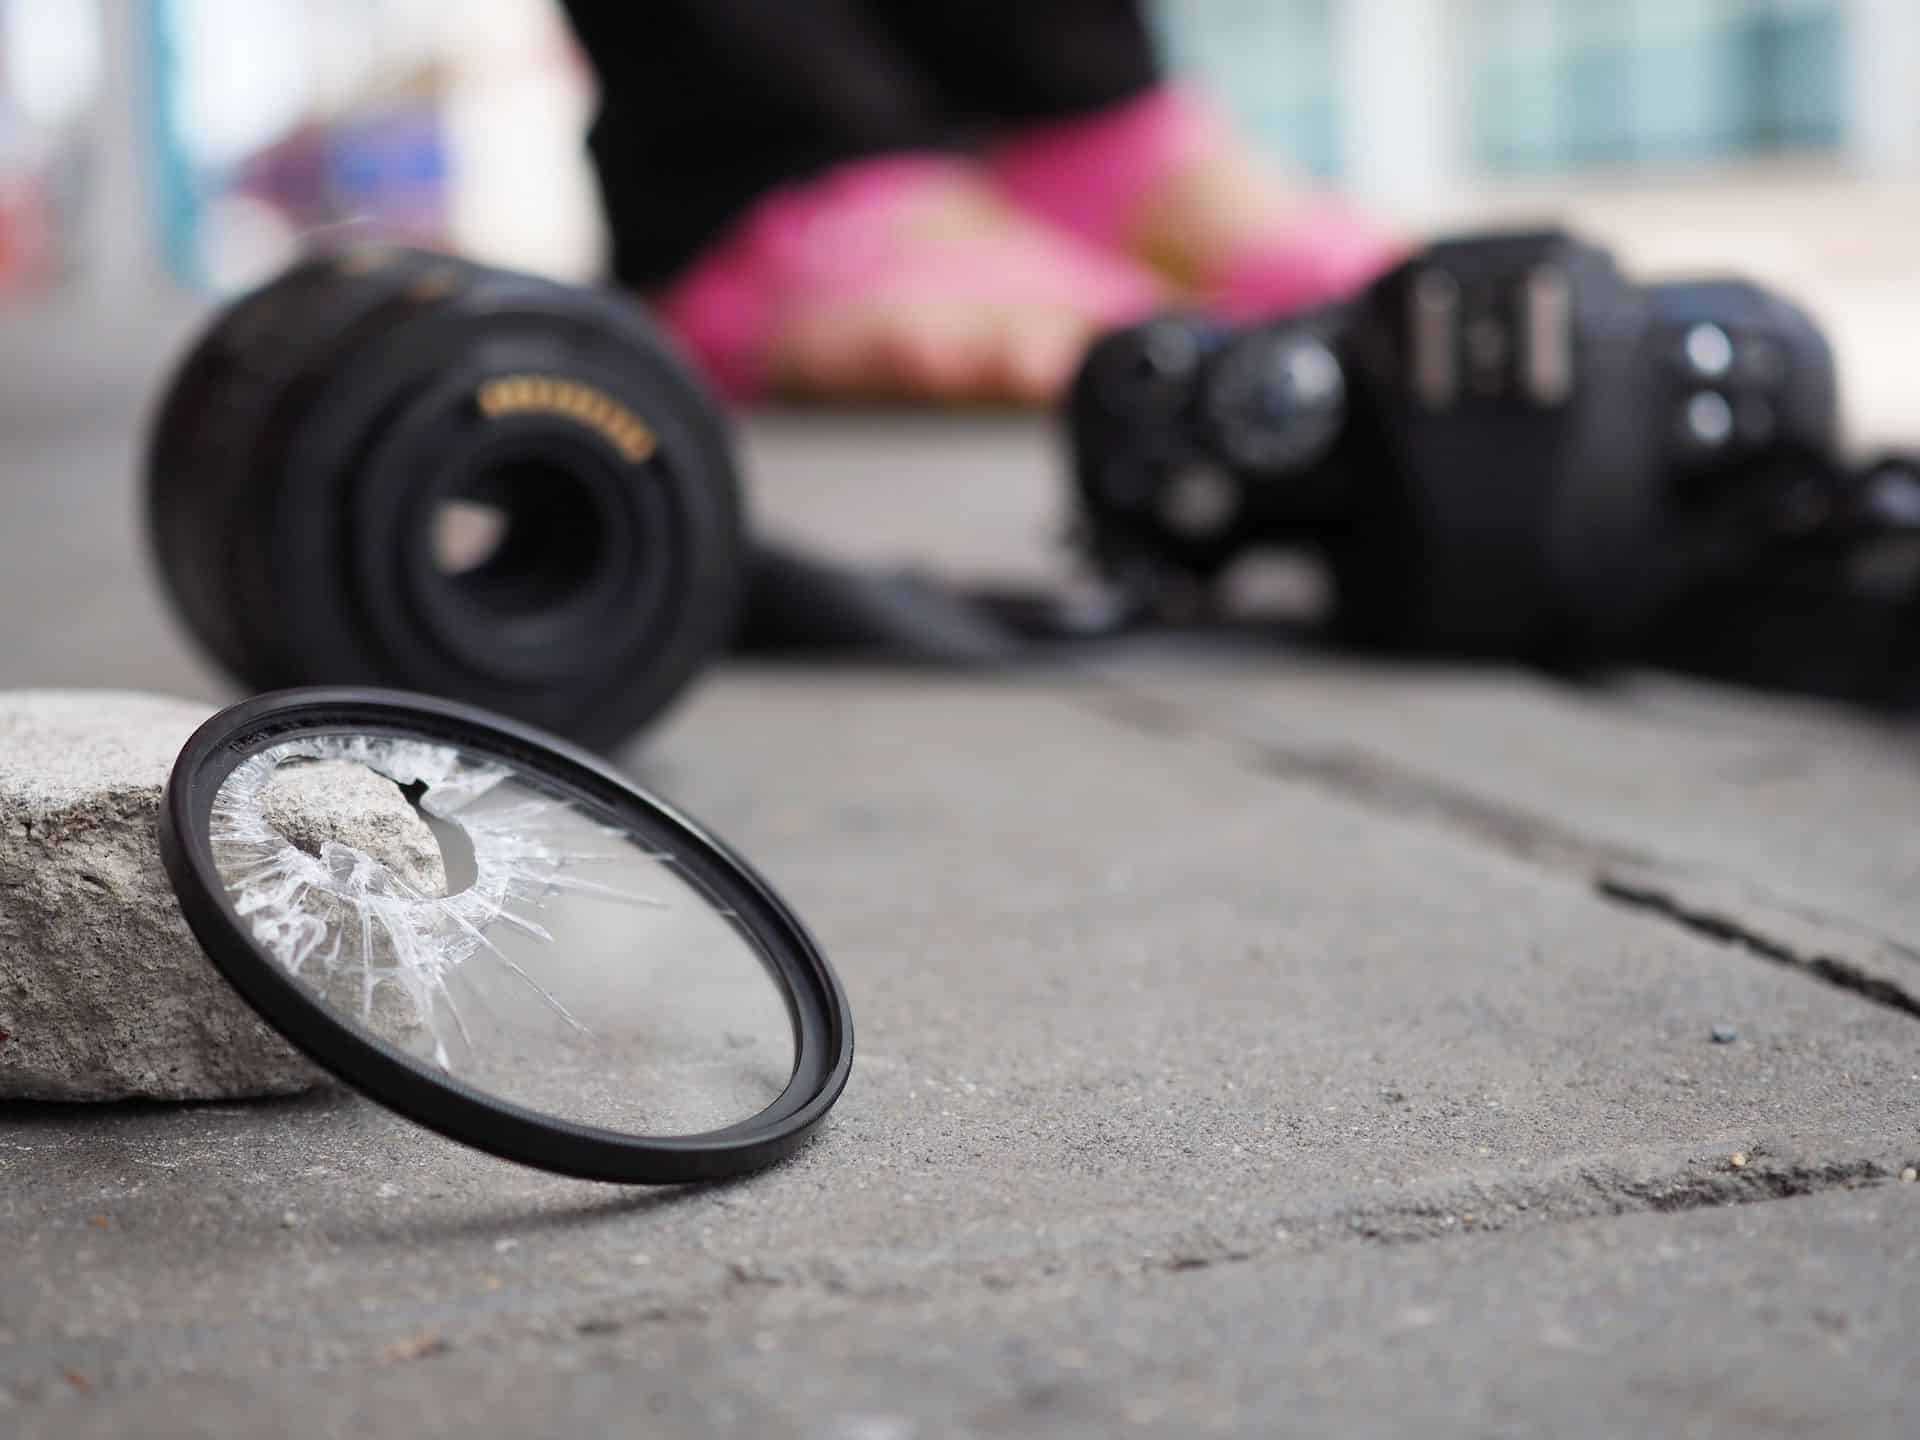
Your camera just tumbled out of your hands to the cement and you’re staring at it in disbelief. As you pick it up to examine it, you see an unmistakable prism coming from the lens. The glass is cracked. Now you’re wondering what else may be broken.
To figure out what may be broken on your camera,
- Thoroughly examine the exterior for cracks or gashes.
- Turn your camera off and then back on to make sure the lens will retract and extend.
- Make some feature adjustments to make sure the software is working properly.
- Take some photos to test that you are getting clear shots.
There are times, however, when you may think your lens is broken but it just needs a thorough cleaning to get rid of some grime. This can happen when your camera’s lens won’t extend or retract. I’ll go into more detail about this and a few other tips.
Table of Contents
What to Do if You Drop Your Camera
After you drop your camera, the first thing you’ll want to do is examine the exterior to see if it is cracked anywhere. This would include thoroughly inspecting the:
- Outer case
- View finder
- LCD screen (If you’re using a digital camera)
- Lens
IMPORTANT NOTE: Make sure you check your camera’s warranty or protection plan and the requirements around taking advantage of that warranty. Don’t do anything that would void your warranty eligibility.
Steps to Take for the Dropped Digital Camera
If everything seems to be intact on the outside of your digital camera:
- Turn it off
- Wait for 15 seconds
- Turn it back on
If the camera won’t:
- Power back on
- Extend or retract the lens
- Provide a display on the LCD screen
Try to reset the software to see if it simply developed a temporary glitch. To do this:
- Turn it back off
- Remove the SIM Card and the Battery
- Wait 15 minutes (we’re going to hope the software just needs to reset itself)
- Replace the Battery and the SIM Card
- Turn it back on
If everything is back to functioning as you would expect, hooray! You’re on to the next check point.
If it’s not working as it should, well, it depends on what it isn’t doing.
If it’s a matter of the lens not extending or retracting, there may be a solution for that. we’ll discuss it a little later.
If it’s that it won’t power back on or the LCD is black with no display, you can try a rather unconventional approach. To do this you will need to:
- Once again, remove the SIM card and the battery.
- Close both compartments.
- Firmly hold the camera on the opposite side from where the SIM card is normally stored.
- With the side of your other hand, firmly tap the side of the camera where the SIM card usually sits. Do this three or four times.
- Don’t use brute force, but don’t be a butterfly either.
- You are working to see if something just got a little jostled out of place.
- This method has been proven to work for some.
- Replace the SIM card and battery and secure their compartments.
- Turn the camera back on. Does it work?
If it still won’t turn back on, you’ll need to:
- Contact the manufacturer and ask if they have any ideas for a do-it-yourself solution.
- Visit the camera repair shop and get a repair estimate.
- You may need to invest in a new camera.
Let’s look on the bright side and assume that everything is in perfect working order so far. If that’s the case, the next thing you want to check is how your camera is performing.
It’s time to check for functionality damage.
To do this:
- Choose a subject that will fill your entire frame.
- Double check your settings to ensure you will not cause a vignette.
- Take a photo and check the result on your LCD screen.
If you experience vignettes on the photo, your lens may have a problem.
If you are using an interchangeable lens:
- Remove it from the camera.
- Reexamine it. Yes, you’ve already checked it, but it’s worth a second look. Are any of the threads broken or chipped?
- If it’s in good condition,
- Carefully blow compressed air into the gaps around the lens barrel – Avoid blowing compressed air on the glass (or plastic) lens as it will most likely damage it.
- Clean your lens with a microfiber cloth to remove any dirt or debris from the glass and the lens barrel.
- Reconnect the lens, recheck your settings, and take another photo.
If the vignette issue is gone, you have solved the problem. If it isn’t you can either contact a repair shop for an estimate or you can invest in a new lens.
Traditional Film Cameras That Have Been Dropped
If you are shooting in analog mode, you will need to conduct a visual inspection of the outside of your camera and the lens.
We hope that your film compartment didn’t pop open in the melee.
Because you are working with film, you have a choice:
- You can shoot the rest of this role, get it developed and see how the quality turned out.
- You can take it directly to the camera repair shop for inspection and possibly repair.
- Remember… before you commit to any repairs, make sure you get an estimate first. Depending on your camera, it may be more cost effective to buy an entirely new camera than to repair it.
Can a Dropped Camera Lens Be Repaired?
This is a tricky question.
If your actual lens glass (or plastic) is cracked or broken, you’re going to have to take it to a professional camera shop and see if they can replace the glass – it can’t be repaired to its former glory.
If on the other hand, your lens mount or filter mount is cracked, you may be able to repair that.
What to Do if the Lens Filter Mount Is Damaged
This is something that can be repaired, and it shouldn’t cost too much. It would be well worth it if you are talking about an expensive lens.
On the other hand, if you have experience working with small – actually tiny measurements and with manipulating epoxy in precise places, you can work on this yourself.
How to Repair a Damaged Lens Mount
To repair the damaged lens mount yourself, first, you are going to need a few supplies:
- Find and buy a replacement lens mount. Consider going directly to the manufacturer in some cases it costs less.
- A small phillips head screwdriver. Think along the lines of what is used to repair glasses.
Note: One repair site recommended to only use JIS (Japanese Industrial Standard) precision screwdrivers because they are made from quality material and are less likely to strip the screws you’re working with. They can be found at most hobby shops. If JIS aren’t available, VESSEL (Amazon) is another reliable brand. - A small container to hold the screws from the mount.
Now that you have your supplies gathered, follow these steps:
- Remove the new mount’s:
- Brass plate
- Chrome mounting
- Screws (there should be eight of them)
- Set them aside for safe keeping.
Note: There are two different sizes of screws that go in different places. Make sure you know which size goes in which hole. - Remove the eight screws from the damaged mount. Keep them separate from the new screws from the new mount. You’re going to replace those with the pieces from your original mount. You already know they fit your camera.
- Lift the inner piece of the existing mount out.
- Remove the CPU contact plate by gently rotating it. Let it rest outside of the mount while it is still attached by the existing wire.
- Carefully unscrew the existing mount from the mounting bracket and the wire.
- It’s time to switch parts.
- Replace the broken mount with your new piece of equipment.
- Screw the new mount in place using your old mount hardware.
Note: Make sure the new mount is attached to the lens. Sometimes the parts get switched and the old part gets put back on the camera resulting in wasted time, frustration, and having to start from scratch. - Now do everything in reverse of what you just finished:
- Put your new replacement mount back into the lens.
- Return the CPU contact plate to its proper place. Rotate it so it locks in place.
- Return the inside piece of the mount to its home.
- Put all eight screws in their appropriate places, but make sure you don’t over tighten them – it could damage the lens.
- Test your repaired lens.
- Recalibrate your lens to your camera.
- All done!
How to Calibrate Your Lenses
Most people don’t think about calibrating lenses to their camera.
To make sure your shots are as clear as possible, you will want to make sure your repaired lenses are calibrated to your camera. The benefit of doing this is that each time you connect the lens to your camera, the CPU contact will be identified by the camera and will retain the new calibration you set.
To calibrate your lenses, you will want to have a focus calibration tool.
- The JJC Professional Camera Lens Auto Focus Calibration Tool has been given an overall rating of 4.2. 55-percent of the 110 people who rated the product gave it a 5. This tool even has a built-in level so you can be sure it is set up to give you the best opportunity for precision focus.
Now that you have your calibration tool, set your camera on a tripod or a flat, even surface the same distance away from your tool as the distance you usually are away from the subject you are shooting.
- If you are calibrating your telephoto lens, you may need to be 20 or 30-feet away from the tool.
- If, on the other hand, you are sighting your macro lens, you will be about an inch away from the tool.
- Granted, those are the two extremes, but they give you the idea of what you’re working on.
Check your settings. If “Live View” is on, turn it off. You do not want to allow the camera to auto-focus.
Now that you have that cared for:
- Look through your camera’s viewfinder.
- Focus on the center line.
- Open the aperture setting to its widest.
- Notice where the camera is focusing when you take a photo and zoom in.
- If the focus is more above the line (back focusing) than centered, you will want to adjust the AF Fine Tune setting. Start with -2 and take another photo. Continue the process until the focus is centered.
- If the focus is more below the line (front focusing) than centered, you will adjust the AF Fine Tune setting to a +2 amount (or whatever level gets it to the centered focus).
- When you have the setting calibrated where you want it, save the setting.
- Voila! No blurry photos with that lens.
Where to Start if You Have to Replace Your Lens
If you’ve been working on photography for any period of time, you know that you will most likely replace your camera before you will have to replace your lenses – particularly if you stay within the same camera brand.
If worse comes to worse and you have to replace the broken lens there are things you want to make sure you consider as you begin your shopping excursion:
- Most photographers become very serious when they talk about the glass used in their lenses. It can even become a matter of pride and debate between brands. That said, some less expensive (some would say “cheap”) lenses are made with plastic lenses. For better quality photographs, spending more for the quality glass will be worth it.
- You will also want to pay attention to the quality of the other materials that are used in the lens’ construction. You want a lens that is made with quality aluminum and metals not plastic. This will make your lens more durable.
- Take note of the lens’ focal length. The lower the focal length, the wider the lens view. Conversely, the longer the focal length, the narrower the field of view (like with a telephoto lens).
- The lens’ aperture is another important component in choosing your new lens. The aperture defines how much light the lens allows into the camera’s sensor. You will want to get the lens that offers the best/maximum possible aperture. This choice makes you more successful in low-light conditions.
Note: When you are looking at the markings on the lenses, the aperture is noted as a fraction of the focal length.- You can opt for variable apertures or fixed. Both offer pros and cons.
- Fixed aperture lenses tend to be lighter and less expensive. That also means that you will have specific lenses for specific scenarios.
- Variable aperture lenses can be more adaptable, but they tend to perform at a subpar level in low lights.
- How the lens mounts to the camera. Is it a bayonet or screw mount?
- The first thing you want to consider is what kind of mount does your camera accept? Most modern cameras use a bayonet mount.
- Bayonet mounts tend to allow for faster lens changes. They also attach to the camera in a more secure, or safer way.
- Do you have lenses from multiple manufacturers? You can look into getting an adapter that will allow you to use those lenses with your camera. This will give you more flexibility and lens options.
- Does the lens include an image stabilization feature? The more you zoom into a subject, the more likely you are to experience camera shake. That is, unless you have bought a lens that includes image stabilization.
- The downside to this feature is that it is a battery hog. The more you use a lens with image stabilization, the more battery life you are using. It also isn’t a failsafe. There is only so much adjustment the feature can care for.
What to Do with Your Old Camera or Lens
If you are in a place of upgrading your equipment as opposed to having to replace something that has broken, perhaps you will want to consider:
- Donating them to the school photography club. Giving a young person the gift of photography and contributing to the encouragement of someone’s new interest, is a gift you give yourself. There’s a certain satisfaction that comes with that.
- Donating them to a charity that will put them to good use. Helping someone by giving them a start toward a new career would be very fulfilling.
If you are wondering what to do with a camera or lens that either couldn’t be repaired or wasn’t cost effective to repair, you could find a photo equipment recycle business. Some of these companies will give you a small amount of money for your broken equipment. They will, in turn either use the parts that can be salvaged or repair the equipment and resell it.
Whatever you choose to do, you end up winning in the end.