Whether it’s just a part of your smartphone or it’s a stand-alone digital model, a camera is a super powerful tool. A camera is so important that it can be annoying or even downright painful when a scratch ruins your lens. You don't have to fret, though; it's possible to fix camera lens scratches.
Here are 10 steps you can take to fix the scratches on your camera lens:
- Clean the lens carefully.
- Use rubbing alcohol.
- Apply petroleum jelly.
- Use a glass polish or scratch remover.
- Use toothpaste.
- Use a soft, unused eraser.
- Apply a banana dipped in baking soda.
- Implement a camera lens scratch-repair kit.
- Replace the front element.
- Send it to the manufacturer for repair.
Keep reading for a more thorough guide on using each of these steps to get your lens looking good as new!
Table of Contents
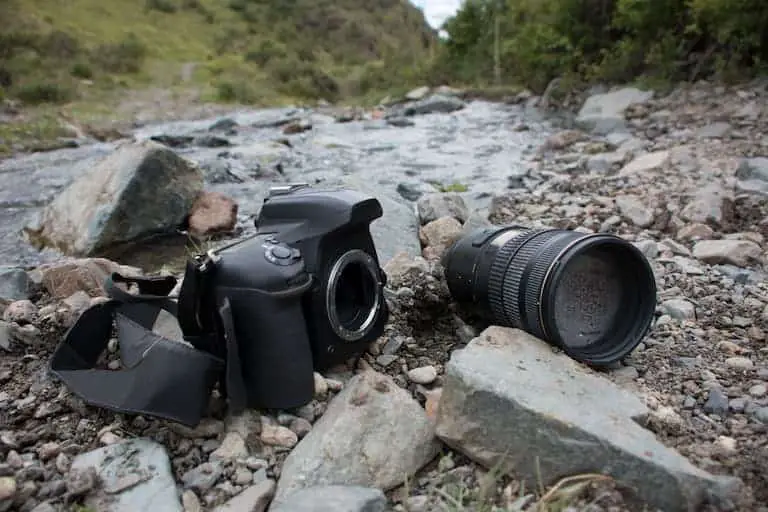
How Do Camera Lenses Get Scratched?
Camera lenses get scratched when they are dropped, scratched or scraped on rough surfaces, or handled roughly. These minor mishaps leave tiny scratches on your camera lens, but the lens’s protective coating is usually scratch-resistant enough that you won’t notice them.
Camera lenses don't scratch easily. Even when tiny scratches appear on them, they're usually so small that they won't affect the image quality, so you might not notice them at all. Although it can be difficult to get a seriously problematic scratch on your camera lens, it's not impossible.
Bigger scratches, however, could be problematic. A scratch like this can blur and distort the pictures you take, scatter the light coming through your camera, and affect the ability to focus.
Can Camera Lens Scratches Be Repaired?
Camera lens scratches can be repaired using a lens repair kit or through DIY methods. A DIY repair can be quite effective for a scratch that’s not very deep, but you may need a professional’s help to repair a severe scrape.
How To Fix Scratches on Your Camera Lens
Below we will outline a few of the most effective steps you can take to repair a scratched camera lens.
1. Clean the Lens Carefully
Sometimes, it’s difficult to tell a lens scratch apart from dirt or a smudge. Trying to fix a scratch on your lens comes with some risk, so before you get into it, you should clean it. This will help you feel sure that the imperfection on the lens really is a scrape.
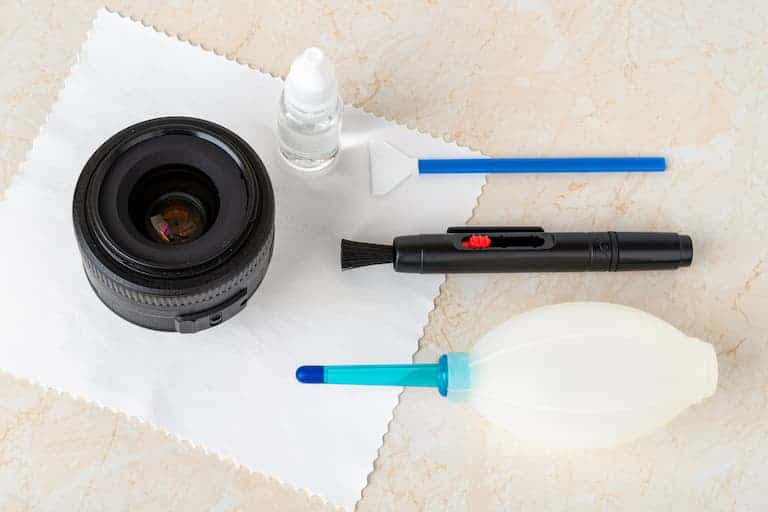
You should avoid using compressed air cans or any harsh cleaners because they could cause further damage to the sensitive surface of your lens. Here’s how you should go about cleaning your camera lens:
- Use a lens air duster to carefully remove the easily accessible dirt and dust.
- After using the air duster, a cleaning pen or microfiber cloth will help you remove any debris that’s left behind.
- If your lens is badly smudged, a mild liquid lens cleaner can also help get any remaining smudges out.
After cleaning your lens as thoroughly as possible, check it again to determine whether the imperfection remains. If it’s actually dirt or a smudge, it should be gone by now. If it’s a scratch, check it carefully and examine it in different lighting situations so you can figure out how deep it is and how badly it will affect your photos.
If the scratch isn’t very deep, you could choose to leave it. Sometimes it’s safer not to risk damaging your lens or wearing off its protective surface while trying to get a scratch out.
2. Use Rubbing Alcohol
When you’re sure that what you have is a scratch that needs fixing, you can get to work with rubbing alcohol. This substance is very accessible over the counter from a pharmacy, and it can help you get rid of major and minor lens scratches. However, it’s a pretty strong chemical for the delicate surface of a camera lens, so you have to dilute it well.
Here is how you should use rubbing alcohol to treat lens scratches:
- Make a solution of one part alcohol with 20 parts water. If you have distilled water, this would be best for diluting the alcohol.
- Dip a microfiber cloth or a clean cotton cloth in the dilute solution and rub it over the lens very gently. The scratches should begin to clear out slowly as you rub.
- Dry the lens with a microfiber cloth when it’s clear enough.
The downside to this method is that as the scratches clear out, you lose about one layer of the scratch-resistant protective coating on your lens. This could make your lens more susceptible to scratches, so you have to be extra careful moving forward.
Also, using alcohol becomes less safe for your camera lens every time you use it, so you should avoid using this method frequently.
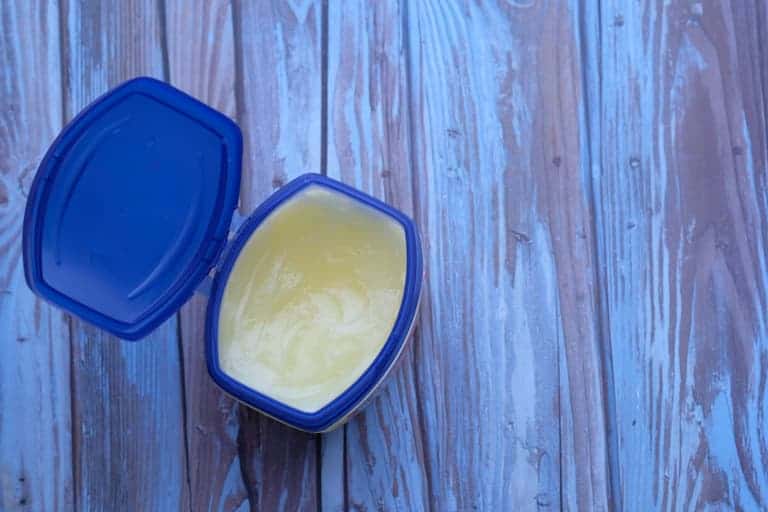
3. Apply Petroleum Jelly
Petroleum jelly is probably one of the world’s most versatile substances. In fact, it is known to have 101 uses, from being a skin moisturizer to a makeup remover, lubricant, or even a treatment for diaper rash. One of its less common uses, though, is functioning as a remover for stains and scratches, even on camera lenses.
Here is how you should use petroleum jelly to treat lens scratches:
- After getting your lens clean and dry by wiping it with a microfiber cloth, apply a little bit of the jelly on its surface.
- Gently rub the jelly on the lens with the cloth, and avoid applying excessive force. Getting jelly lodged in other parts of your phone or camera can be messy, so you should watch out for that as well.
- Wipe off the excess jelly, and check out the appearance of the lens.
Petroleum jelly isn't effective for all scratches, but its advantage is that it has a low risk of damaging your camera. It can do a decent job with a minor scratch, and at least minimize the appearance of a major one. The jelly layer may wear off after a while. If this method works well for your lens, you may need to reapply the jelly regularly.
4. Use a Glass Polish or Scratch Remover
Glass polish liquids for car windscreens or windows are pretty common in domestic cleaning. You can also easily buy some at a local auto-parts store. Mild solutions are generally safe, and they do a good job of removing scratches on a camera lens.
Make sure that you choose a polish with nano glass-coating protection. These have the added advantage of adding an extra protective layer on the coating of your lens, instead of wearing it off like other strong solutions.
Here are two simple steps you can take to treat lens scratches using polish or scratch remover:
- Pour out some of the solution on a flat surface and dab it gently with a piece of clean cotton fabric or microfiber cloth.
- Rub the cloth gently on the lens surface, especially along the part that has the scratch, until it clears up.
Misusing the polish could damage your lens, so you should carefully read the user instructions and follow them precisely. When the scratch disappears, use a dry corner of the fabric or another dry cloth to wipe the lens.
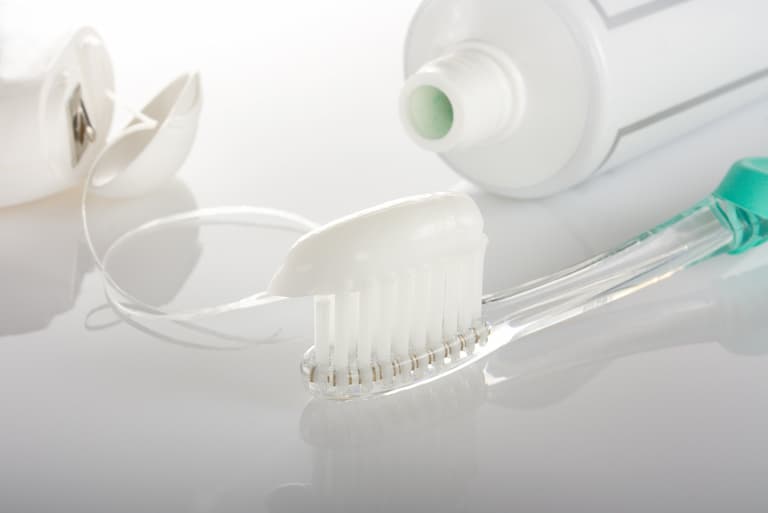
5. Use Some Toothpaste
Toothpaste is abrasive enough to take the germs out of your mouth, and it can also get scratches out of your lenses. This is a relatively easy method because toothpaste is readily available, but the downside is that the abrasion will also take off a layer of your lens’s protective coating.
Here is how you should use toothpaste on lens scratches:
- Ensure that the lens is completely dry and put some toothpaste (preferably not the gel variety) on its surface.
- Get a cotton ball, and use circular motions to coat the entire surface with the paste. Applying too much force could corrode the lens, so you should be as gentle as possible.
- Dampen your cotton or microfiber cloth with water, and use it to clean the lens thoroughly.
6. Use a Soft, Unused Eraser
Your eraser does more than wipe out your pencil marks—it can also take scratches off your camera lens! This is an old-fashioned method, but it’s great because it costs very little, the materials you’ll need are readily available, and it also runs a minimal risk of damaging your lens. For a deep scratch, though, an eraser may only be able to minimize its appearance.
Here is the process for treating lens scratches with an eraser:
- After wiping the camera lens thoroughly, choose a soft, non-abrasive eraser that has not yet been used and gently move it in the direction of the scratch.
- Keep moving the eraser along the scratch until it gets minimized or wiped off.
- Clean it with a soft microfiber cloth.
7. Apply a Banana Dipped in Baking Soda
The banana and baking soda trick is probably the most outlandish way to clean scratches on a camera lens, but it has quickly gained popularity. It also has a low risk of seriously harming your camera, so there’s a healthy chance that it’ll get your lens scratch-free (though it could end up smelling strongly of bananas).
Here are the steps to this technique:
- Peel a banana and dip its end or middle piece into a bowl of baking soda.
- Start to wipe the banana covered in baking soda over the lens.
- If the baking soda is wiped off the banana, turn it to the other end or dip it in the baking soda again and continue wiping the lens for at least 2 minutes.
- Rub your lens gently but thoroughly with cotton or microfiber cloth to get the soda off.
8. Implement a Camera Lens Scratch-Repair Kit
Scratch repair kits are usually meant for digital cameras, but they can also help with scratches on the lens of a phone camera. It’s pretty unlikely that you’ll have one of these kits lying around, but there are many different brands and models in the market, so you can easily get one at a photography store.
Follow the steps outlined in your lens repair kit for the best results.
A lens repair kit usually comes with a special scratch-removal cream and microfiber pads. Put a blob of the cream on your lens surface and gently massage it over the lens for about 4 minutes. For a deep scratch, you may have to wipe it and repeat the process a couple of times.
Make sure that you carefully research the model of scratch-repair kit you’re planning to buy so you can choose wisely. For the best results, you’d check the specific user instructions and follow them too.
9. Replace the Front Element
If none of these DIY methods work, you might have to replace the front element of your camera altogether. Unfortunately, that will cost you a significant amount of money. You shouldn’t try replacing it on your own if you don’t have experience with the process. Instead, ask a professional at a service center to check out the lens first.
For a digital camera, it might be more cost-effective to buy a new lens altogether than to repair a scratched one, so you should weigh all your options carefully before deciding.
10. Send It to the Manufacturer for Repairs
Camera manufacturers usually have a hotline you can call to speak with a professional, consult about your lens scratch and get information specifically suited to your camera brand.
If your camera still has a valid warranty, you should look into it. If the warranty covers the lens, you just might be able to send it to the manufacturer to get it repaired or replaced.
Conclusion
Protecting your lens is the easiest way to avoid the stress of repairs, so you should take any necessary precautions to reduce the possibility of getting a scratch on your lens.
Look into protective equipment to keep your lens safe from scratches during use. If your lens does get scratched, there are a variety of methods you can use to resolve or reduce the damage on your own. If these methods fail, consider consulting with a professional or replacing your camera lens.