If you're serious about working in professional photography, you will want to acquaint yourself with the softbox as soon as possible. It's one of the more versatile tools in your toolbox. When you get your softbox, you would do the following:
- Attach your bracket onto the mount, and install your speed ring.
- Open up your softbox and attach it to the speed ring.
- Attach your speedlight to the bracket, facing inside the softbox.
- Attach the bounce cloths to the softbox, the smaller one directly in front of the speedlight, and the larger one close to the front of the softbox.
- Turn on your speedlight.
That's not too bad. Now let's dive into what a softbox is, how it works, and how to use it to improve your shots dramatically.
Table of Contents
How Do Softboxes Work?
A softbox is an enclosure that surrounds a light source (either a strobe or a speedlight) and softens the light that comes through it. When you use the softbox correctly, it will soften the shadows on your subject.
The softbox's internals are lined with white or silver fabric, while the outside of the softbox is covered in black cloth. This black fabric keeps the light from leaking into the rest of the set.
The light from the speedlight bounces around and scatters in all directions because of the white or silver fabric inside the softbox.
Softboxes confine light from a speedlight or a flash strobe. The softbox releases the light through one or more layers of light diffusion fabric. The translucent material scatters the light as it passes through, and creates a softer light that gets evenly distributed.
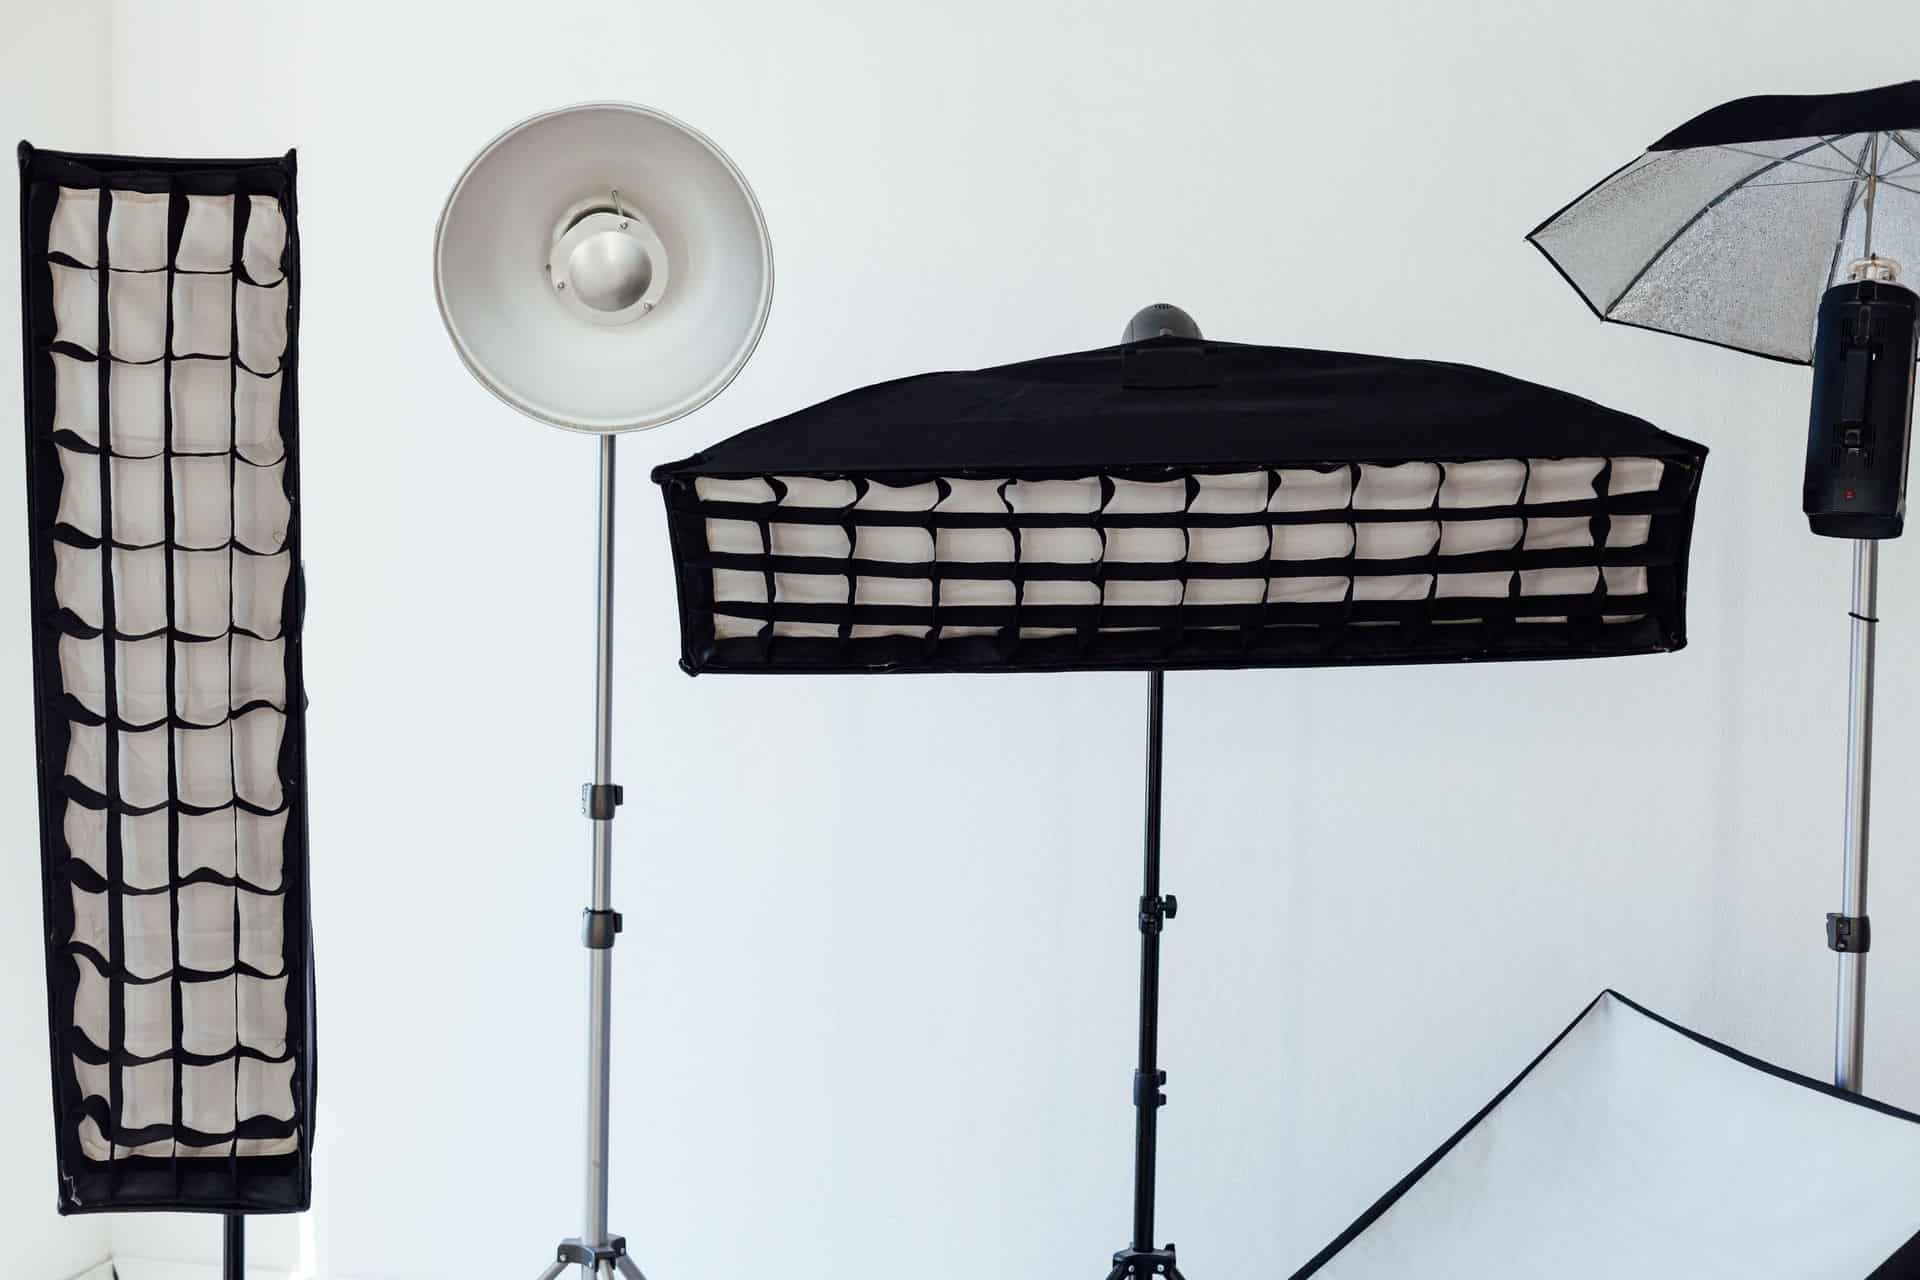
What Kinds of Softboxes Are There?
Today's softboxes are lightweight, portable, and come in all shapes and sizes, such as:
- Rectangular
- Square
- Octagonal
The square and rectangular softboxes are perfect for shooting face and figure photos meant to be published online, as the light will fit the framing of the picture perfectly.
The octodome softbox will cast a more natural-looking light and will have more use than the square version; they are the preferred softboxes of fashion and portrait photographers because they can produce soft light that falls off quickly. As a result, backgrounds don't get overly illuminated, which prevents shadows from showing up and distracting the viewer.
Another variation of the softbox is known as a WhiteDome. For scenes that are meant to showcase a room, such as a kitchen, WhiteDomes boosts the overall lighting while keeping its natural look.
Where Can You Get These Softboxes?
Square Softbox
One good example of a square softbox is the Neewer Square Speedlight and Umbrella Softbox.
The square light diffusion surface is excellent for portrait or product photography with small products. The umbrella body is made of high-density nylon material and is highly reflective. You can use this softbox with studio lights and flashes.
Octodome Softbox
An example of an octagonal softbox would be the 32 Inch Octagonal Speedlight Softbox from Neewer. The diameter of this softbox allows for a wide range of applications with portrait or product photography.
This octagonal softbox is built with a light and durable double metal frame, and you can use it with speedlights and studio flash lights.
WhiteDome Softbox
The PhotoFlex WhiteDome NXT is an example of such a softbox design. If you need to brighten a room or a large set with nearly shadowless lighting, the Photoflex WhiteDome NXT has you covered.
This particular softbox uses PhotoFlex's proprietary Brimstone fabric, making it extra heat resistant and durable.
This extra heat resistance makes this softbox capable of handling some of the most powerful light sources on the market, up to 3,000 watts for a large model, 2,000 watts for a medium-sized model, and 1,000 watts for the small softbox.
If you want to eliminate shadows from your shoot entirely, look no further than the PhotoFlex WhiteDome NXT.
How Do You Set Up a Speedlight Softbox?
For the purposes of setup, two softbox types exist.
The first type is one where you install the light inside from the rear of the softbox and have the speedlight face forward. These softboxes typically only allow you to use one speedlight due to their relatively small size.
The other type is the octodome softbox, where you place the entire stand, bracket, and lights inside the softbox, with the lights facing backward for maximum reflective surface coverage.
This type of softbox has a zipper at the bottom of it so you can open it and insert the stand inside of it. It also comes with a metal rod inside of it to attach the bracket to it. As these softboxes are larger, you can use two or more speedlights inside the softbox to create a more substantial light source. See the following video below on an example of this type of softbox, the Illumi by Vistek.

How Do You Set Up a Rear Light Install Softbox?
You can set up your rear light install softbox in eight simple steps:
- Prepare your stand for the softbox.
- Attach the tilt-head bracket onto the top of the mount, and install the speed ring.
- Open up your softbox and attach it onto the speed ring.
- Attach your speedlight to the bracket, facing forward.
- Remove your bounce cloths from your equipment bag.
- Attach the smaller bounce cloth directly in front of the speedlight held into place by four corner clips.
- Attach the larger one close to the very front of the softbox Velcro holds this bounce cloth into place.
- Turn on your speedlight. You're now ready to shoot.
How Do You Set Up Your Octodome Softbox?
Follow these seven steps to prepare your octodome softbox:
- Prepare your stand for the softbox.
- Attach your speedlight bracket onto the top of the mount.
- Unzip the opening at the bottom of your softbox and run the stand and bracket through the opening.
- Attach the metal rod in the center of the softbox through your bracket. You want to set the bracket, so it's in the middle of the softbox.
- Attach your speedlight to the bracket, facing toward the back of the softbox.
- Remove your bounce cloths from your equipment bag and attach it close to the very front of the softbox. This bounce cloth is held into place with velcro.
- Turn on your speedlight. You're now ready to shoot.
Now you have finished setting up your softboxes. You can now start setting up the rest of your shoot.
How Do You Use a Speedlight Softbox?
You can use a softbox in almost any scenario you can think of, from:
- Indoor shots
- Outdoor shots
- Nature shots
- Video
- and everything in between.
Many photographers use a softbox while taking a portrait shot at sunset. The soft light from the softbox can emphasize the natural light coming from the sunset and breathe even more life into the image.
Softbox usage falls into one of two primary areas:
- Key light-also known as the primary source.
- Fill light-which is an auxiliary light to reduce contrast.
You can use any style of light for either of these but using too harsh of light will produce harsh shadows. Softboxes cast softer lights that are more evenly distributed, making them perfect for fill lighting.
To use a softbox, all you need to do is turn on the softbox's speedlight, point the lit softbox in the direction that suits your needs, and shoot.
Sometimes aiming the softbox directly at your subject doesn't create the best image. Experiment with different angles and play with the lighting to see how it falls on your subjects.
When creating an image where a softbox will be your key light source, ask yourself these questions:
How Close Is Your Softbox to the Subject?
The closer you get the softbox to your subject, the softer the light will be, and the fewer shadows you'll have to deal with. However, if you get it too close, you won't be able to light it evenly or illuminate it well enough.
Check your lighting to ensure it isn't falling off at your subject's extremities.
How Large Is the Softbox You’re Using?
Softboxes come in many sizes, and each size has a different effect on your photos. A larger light source, relative to the subject, makes for a softer light. This softer light can:
- Cover up blemishes
- Reduce contrast
- Soften shadows
Larger softboxes cover the entire subject with light; this coverage is vital to producing great shots for specialized images like wedding photography.
If you plan on shooting images of reflective subjects (such as a wine bottle), a larger softbox will give you a higher-quality transparent reflection than what you would achieve with a smaller softbox.
If you're looking at getting a large softbox for any of these circumstances, I recommend the Godox 35x160cm softbox. These softboxes will provide your subject maximum light coverage, which makes it ideal for fashion photography.
This softbox also comes with a grid strip, which will allow you to control your light even better than before. If you are into portrait photography, this softbox is the perfect addition to your professional photography arsenal.
Where Are You Placing and Aiming Your Softbox?
When you're shooting portraits, aim the softbox at your subject's best side to give the most flattering shot.
Aim the softbox above your subject to cast shadows over his or her eyes and beneath his or her nose and chin. Experiment with light angles to find the best shadows for your purposes.
How Strong Is the Light from Your Softbox?
Every softbox you use will differ in the light output and diffusion it produces. The stronger your light source is, the more flexibility you will have with your lighting.
Are You Using Any Other Light Sources Along with Your Softbox?
The number of light sources you add in your shoot will influence the total quality and amount of light. You can use additional light sources to fill in any shadows you don't want to have in your shot.
When working outside during the day and use a softbox in your shoot, you will need to keep in mind how the sunlight will affect the outcome of your images.
How Reflective Is Your Subject?
If your subject, or any part of your subject, is reflective in any way, the light will bounce from your light source, off of your subject, and into your camera lens.
For example, a person isn't reflective, but that person's eyes are. As a result, your softbox will show in that reflection when you snap your photo. If that reflection is a problem, you will need to change your softbox's angle or move it further away from your subject.
If you're shooting something like product photography, pay close attention to what the reflection looks like, if there is a reflective surface in your frame. Be extra careful if you are shooting an image with glass or another reflective surface.
How Close Is the Subject to the Background?
If you have your subject too close to the background, your softbox will cause a shadow you don't want. Bringing your subject further away from the background will make the shadow go away.
You can also try moving your light source further from the background or change the angle that you're aiming your softbox so you can eliminate the shadow without moving your subject.
Is a Softbox Better Than an Umbrella?
Umbrellas work well for what they do, but they only have one application. Softboxes come in a variety of shapes and sizes to achieve a broader range of desired results.
You want to use softboxes in place of umbrellas when you're working with front lighting. If you use an umbrella, the flash from the light will get around the umbrella and reach the lens to cause unwanted lens flares.
When you use an umbrella to direct your light, you risk the light from the lamp hitting the lens because the umbrella doesn't entirely cover the light source. If you use a larger umbrella that can wrap around your light source, you run the risk of the umbrella cutting into the frame.
Using a softbox in this situation, you fully enclose the lamp and protect the camera lens from getting hit with stray light, and you don't have to worry about its size. You can use a full range of placements for your softbox, and you will never have a problem with flare.
Advanced Tips for Softbox Speedlight Shooting
After you’re used to the basics of shooting pictures with a speedlight softbox, now it's time to experiment. Use these tips below to guide your experimentation. The smallest tweak could turn an average image into a stunning photo for your portfolio.
Use a Softbox That Has a Recessed Panel
Use the fins on the recessed panel to exercise more creative control in directing the light. Also, the larger the light source, and the closer the light source is to the subject, the softer that light becomes.
Never Point the Softbox Directly at the Subject
Position your light, so it falls in front of the subject ever so slightly. This technique is commonly known as "feathering the light."
One position to test out is to move the softbox to the slight left of the subject at about 11 o'clock. Back in the time when portraits were painted, master painters preferred the natural light that came in from the window at this angle.
Tailor the Lighting to Your Subject
No one-size-fits-all environment ever looks suitable for anyone (which is why school yearbook photos look terrible at all times.) Every subject is different, so adjust your light to bring out their best look.
For Group Photos, Shoot One Subject at a Time and Stitch Them Together in Post
Unless you have multiple softboxes and other light sources at your disposal, you won't be able to distribute your light evenly in a way that will flatter everyone in the frame.
Instead, snap a photo of each subject and use the magic of image editing software to bring everyone together in one glorious image.
Hook Your Camera Up to a Computer or External Monitor
Looking at your images through a tiny camera screen will not give you the most accurate view. Take a look through a much larger screen to see your image in finer detail right away.
Play With the Positioning of the Softbox to Change the Shadows
Moving the softbox only a few inches can dramatically change how your shadows look. This same principle works for moving the subject. Moving a few inches in a direction can change the image considerably.
Get the Most Powerful Lights that Will Fit Your Budget (and not burn a hole in your softboxes)
You can filter and diffuse an intense light to dim it, but you can't artificially make a weak light stronger. The stronger your light source, the more flexibility you must experiment with it. Also, get several types of diffusers and filters to adjust your light's strength as you need it.
Follow This Guide and Master Your Lighting Game with Your Speedlight Softboxes
Now that you understand how to use a speedlight with your softboxes go out and experiment with it. Keep learning and testing different positioning and lighting techniques. Test out the different types and sizes of softboxes to see which ones work best for your photoshoot.
Master your speedlight softboxes, and you will produce photos that will be the pride of your clients and the envy of your competition.