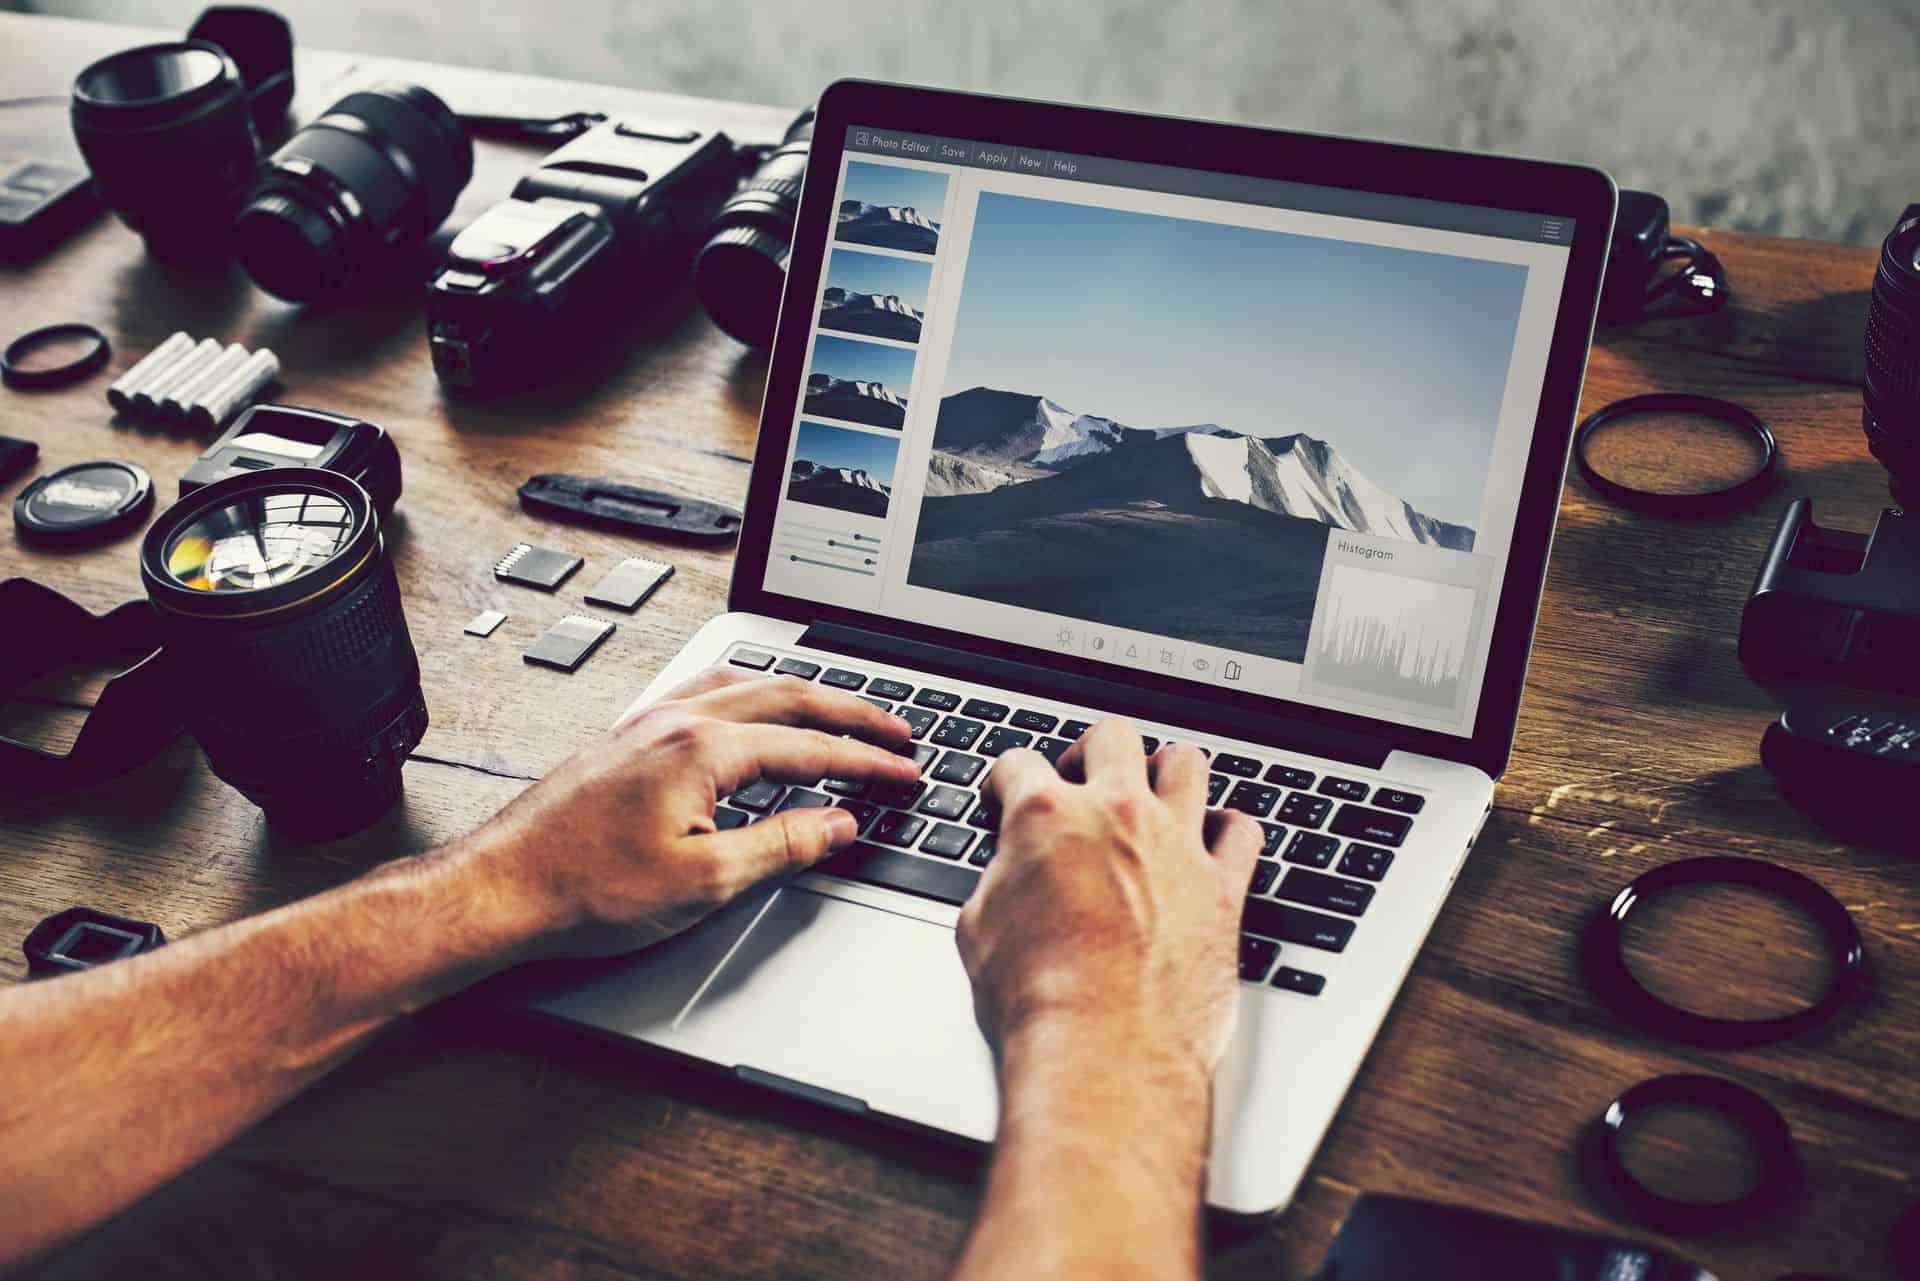
Photography is a flourishing art form. All levels of digital and film photography require some baseline knowledge of the tools of the trade. Your camera, lens, and equipment are all important to creating a beautiful image. The lens hood and the lens filter are two different lens accessories that are widely debated amongst photographers.
What's the difference and what's better between a lens hood and a lens filter? While the lens hood is bulkier and provides a reduction in lens flare, the lens filter is a compact addition to the lens that protects against light but offers no protection against lens flare. Some even claim a lens filter increases lens flare. The lens hood is considered to be a better product because of its versatility. Both the lens hood and the lens filter can change image quality.
There is much to learn in terms of photography and the specialized equipment involved. The lens hood versus lens filter is a hot topic in the photography industry. Knowing the pros and cons of each, along with understanding the tools themselves and how they are used, will help you make the right purchase for your photography needs.
Table of Contents
A Comparison of Lens Hood vs. Lens Filter
A lens hood or filter can be used for many different reasons. A lens hood is universally recognized as a good investment to improve image quality, whereas there is much debate over whether a lens filter improves or diminishes quality.
The following chart reveals the pros and cons of lens hoods and lens filters:
| Pros | Cons | |
| Lens Hood |
|
|
| Lens Filter |
|
|

Which Is Better?: Lens Hood or Lens Filter
Since each attachment does different things, you must choose which is best for you based on your interests and photography focus. Depending on the situation, both can be very effective tools. Lens hoods are great overall, and lens filters are better for specific niches.
Lens Hoods
- Are a great investment
- Provide a more saturated image
- Create an overall better-quality image
Lens Filters
- Are mostly unnecessary in digital photography
- Provide additional protection
- Potentially distort your image
- Effectively create or enhance lens flare
Both a lens hood and lens filter offer some degree of protection to the lens. In most cases, when your photography equipment falls or takes damage, the added equipment takes the brunt of the damage. This protection garners you a much cheaper replacement fee than buying a new lens. It may not always work this way, but it is a feature to consider.
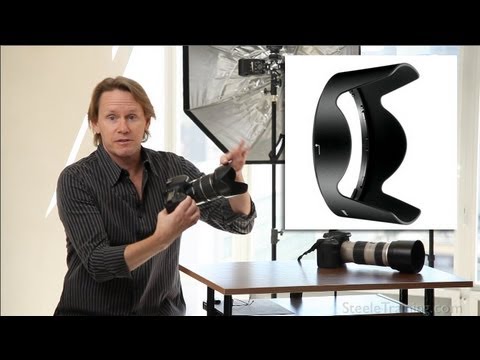
What Is a Lens Hood?
A lens hood is an attachment on the end of your camera lens that protects the lens and eliminates lens flare. All lenses have a hood that is designed specifically for the lens’ specifications.
Some lenses come with the lens hood included when purchases; others must be bought separately. Because lens hoods are designed for a range of lenses, make sure you are getting the right lens hood for the job.
There are a few different styles of lens hoods:
- Petal (or Tulip) – Wide-angle lenses have the optimized petal shape to avoid the hood being in your shot.
- Tube (or Round) – Found on most other types of lenses, where the hood will not interrupt the field of view.
- Plastic – Hard plastic that takes up space; most have the feature to sit backward on the lens for storage.
- Rubber – Soft rubber allows for collapsibility, but not protection.
(Sources: Lens Hoods 101, or watch video below)
Each lens hood can be attached in two different ways:
- Bayonet – Grooved sections that match up on the camera and attachment; turns into place with a click.
- Screw-On – Simply screws into place; requires a bit more time for attachment.
Using a Lens Hood
A lens hood is designed to be used in all environments. The nature of a lens hood is that it creates great photos in both low and high light situations.
Some instances when a lens hood can be used to get rid of flare are:
- At a concert – The bright lights can cause a lens flare.
- In a park – The light filtering through trees can cause a lens flare.
- Any scene with stray light – Outdoors or indoors; with natural or artificial light.
Apart from storage issues (sometimes), there are no actual downsides to lens hoods. They increase image quality and allow for more control over your final image.
Using a lens hood is commonly recommended because it makes for easier photographing. Lens hoods protect from lens flares and potential lens damage, making the hood a wise investment. You will notice a very obvious difference in your photos with and without one.
Alternatives to a Lens Hood
Many people do not want to spend the extra cash on a lens hood when it does not come included with their lens. There are alternatives to lens hoods; however, they can make shooting a bit more complicated.
Some alternatives for lens hoods you can try are:
- Using your hands – Shoot one-handed and block the light with your other hand.
- Using shadows – Stand in the shadow of a larger object to snap photos.
- Asking a friend – Have your friend stand and hold up their hands to block the light.
- Make your own – Paper, cardboard, and even 3-D printed options are available.
Be aware that if you make your own lens hood, it will not provide any added protection, especially if you choose a flimsy material. However, making a lens hood is, by far, the cheapest option!
(Source: When to Use Lens Hoods)
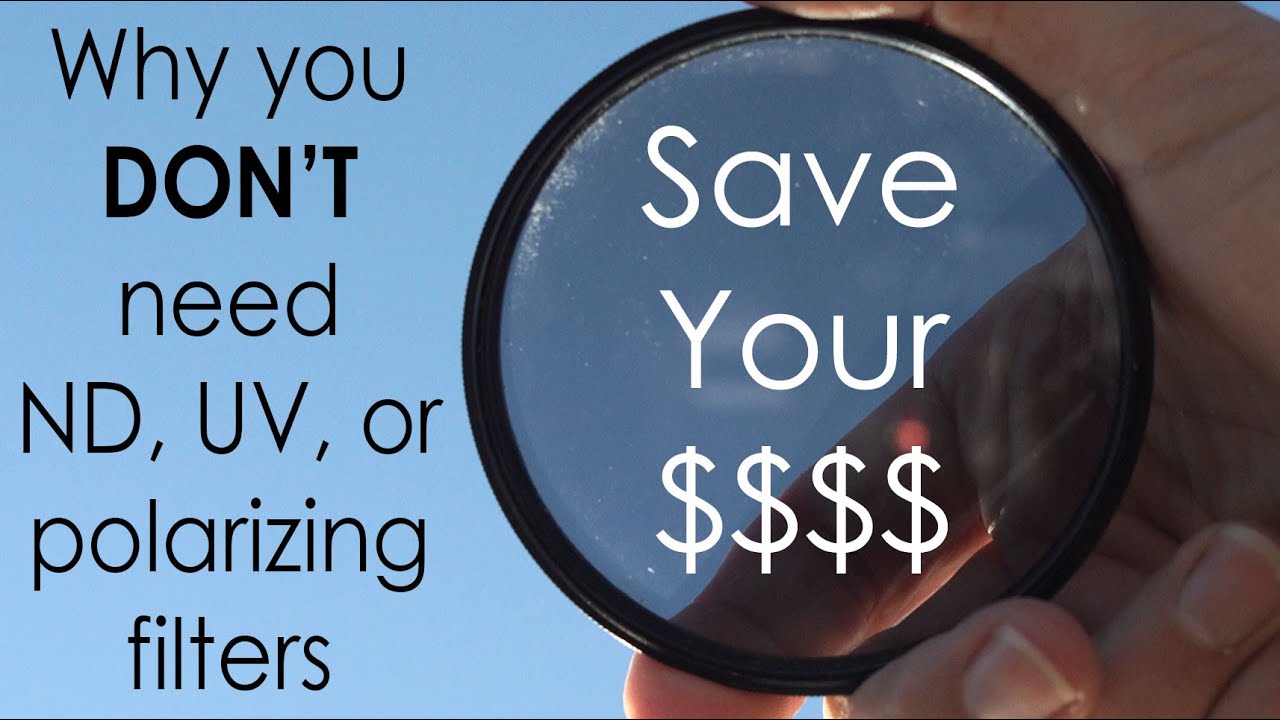
What is a Lens Filter?
Lens filters are supposed to provide protection from different kinds of light and enhance image quality. In reality, most filters do the opposite and end up decreasing image quality. For these reasons, many photographers skip lens filters.
These are three of the most common types of filters:
- Ultraviolet filters – Block UV rays and increases lens flare; provide lens protection.
- Polarizing filters – Reduce glare and reflections; can make a photo appear unnatural.
- Neutral Density filters – Reduce the amount of light through the aperture with heavy tint.
A cheap quality (and sometimes in cost) filter can drastically distort your image, inherently, putting another layer of glass or plastic over a lens will make the image less sharp. However, if you invest in a nice piece of equipment, you will not see any differences in image quality.
You do not need a lens filter. Lens filters are an additional cost that can end up being very expensive for good quality. Apart from the expense, lens filters do not offer much improvement in the quality of an image. However, if you are looking for a specific desired artistic effect that cannot easily be created during the editing process, a lens filter is a good investment.
Other, more specialized lens filters include:
- Color filters – Provide hue, tone, or saturation changes; can be blue, orange, green, etc.
- Infrared filters – Create an infrared appearance one images taken with a regular DSLR.
- Macro filters – Allow for additional zoom and focus for extreme close-ups.
Specialized filters are used for added artistic effect, not for creating crisper, higher quality images. The color, infrared and macro filters are used on a case by case basis. These three filters are among the many, less commonly used filters.
(Source: Types of Filters)
Using a Lens Filter
A quality lens filter can be quite expensive, so many photographers opt for finding other ways to get their desired effects. Adding effects during the editing process is much preferred over spending hundreds of dollars on a lens filter.
There are many times when you can use a lens filter:
- ND filters can give a smooth appearance to moving water.
- ND filters can be used during video recording to allow for slower shutter speed.
- ND filters can simulate nighttime shooting conditions.
- UV filters can be used for film photography.
- Polarizing filters can decrease the shine in an image.
- Color filters can tint your image.
- Macro filters can capture a closer image.
Sometimes, adjusting your camera’s settings can allow for nearly identical images to ones taken with lens filters. Generally, avoiding a lens filtered image will allow for increased sharpness and natural color transitions.
Some disadvantages of using a lens filter are:
- Polarizing filters can cause more color variation.
- Polarizing filters decrease light and require a higher sensitivity (ISO) setting.
- ND filters must be screwed on to an already focused camera.
- ND filters increase color shifts.
- UV filters decrease image quality.
- All lens filters are expensive.
- Most effects can be added during editing.
Lens filters screw onto the front of the camera lens and are an additional layer of glass or plastic that helps filter out light and protect the lens. Digital photography does not require UV protection, but the added layer of protection to the lens can be beneficial.
(Source: Lens Filters, Worth It?, or see video below)
Alternatives to a Lens Filter
A high-quality lens filter is expensive. And you don’t want to buy the cheap option because it can have a high number of imperfections and further distort your image. So, photographers have developed ways to get their desired effects without shelling out the cash.
Many of the effects that filters provide can be added during editing or by changing some camera settings, such as:
ND Filter’s Effect on Moving Water
An ND filter drastically reduces the amount of light allowed into the camera. For this reason, it is great for capturing moving water and creating a smoother effect.
You can achieve this smooth water look during editing by following these steps:
- Attach your camera to a tripod to ensure all your images are aligned.
- Capture multiple images using continuous shooting.
- Upload images to Adobe Photoshop or a similar photo editing program.
- Select all of your images and layer them in as a Smart Object.
- Then select the “mean” stack mode to blend the layered images.
Voila! A beautiful smoothed appearance over moving water without the increased noise a filter can cause.
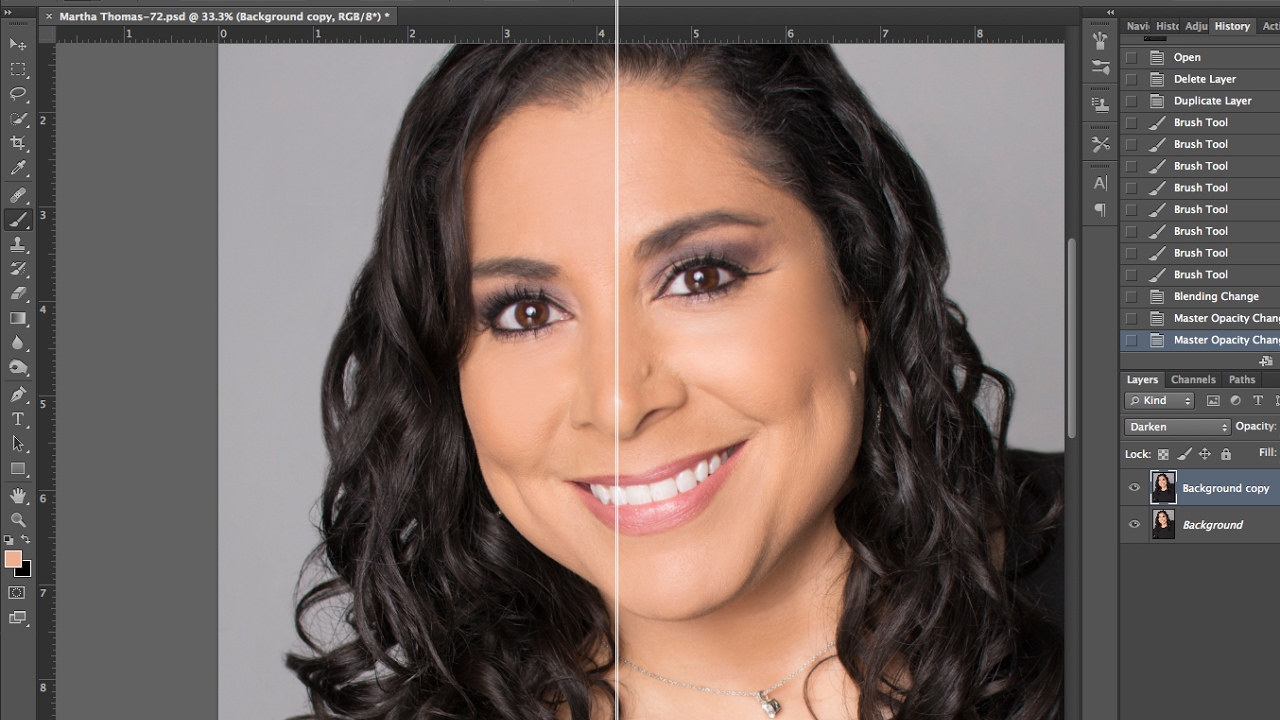
Polarizing Filter’s Effect on Shine
The polarizing filter cuts shine from an image. This effect can be duplicated without a filter during the editing process.
You can reduce the shine or glare of an image by following these steps:
- After you have taken your photo, upload the image to Photoshop.
- Create a copy of your image, so you have two identical layers.
- Now, only work in your copied layer for the following steps.
- Select the darker tone or color you want to use to replace the shine.
- Using the brush tool at full opacity and your chosen color, brush over the shiny areas.
- You may need to adjust the color to get the best, most natural match.
- From this point, you may notice the airbrushed effect is too strong.
- To reduce this airbrushing, select your layer and change the blending mode. Depending on your desired effect, one setting may be better than others.
- Play around with the different blending modes and change the opacity until you are satisfied.
(Source: Reducing Shine Without a Filter, or see video below)
Color Filter’s Effect on Tone
A color filter helps to create fun colored images. These filters have fallen out of favor with the advent of digital photography. Today, adding color effects is most easily done in an editing program.
You can add a colored tint over any photo by following these steps:
- Open your image in Photoshop.
- Create a solid color layer and fill with your desired color.
- Change the layer option to color from the drop-down menu to apply a tint over the original image.
- Adjust hue, saturation, and brightness in the color picker window until you get the desired final look.
(Source: Adding a Tint in Photoshop, or see video below)
UV Filter’s Effect on Lens Flare
Photoshop has a lens flare filter that can be applied to your photos.
To add lens flare to an image in Photoshop, follow these steps:
- Go to the filter drop-down menu and select render, then lens flare.
- The pop-up box allows you to place the lens flare anywhere your image by clicking and dragging within the window.
- You can then change the color of the lens flare under the image drop-down menu.
- Select adjustments, then hue/saturation. Use the slider to adjust the lens flare’s color.
Editing the original image is not ideal for most photographers. You can add the lens flare to a new layer, but it takes a few more steps:
- For adding the lens flare to a new layer, follow steps 1-3.
- Click undo to remove the lens flare from your original image.
- Then, create a new layer and fill it with a color.
- Select the lens flare option again from the filter drop-down menu. Your settings and placement should have been stored.
- Change the blending options for the layer to screen.
- Adjust the lens flares color as need by following steps 4-5.
The lens flare effect in Photoshop is a bit more complicated than pointing and shooting with a lens filter, but it allows for more control over how your final image appears and can easily be changed. A real lens flare is a part of the image. Lens flare is much easier to add to an image than edit out of one.
(Source: Adding Lens Flare in Photoshop, or see video below)

Above are just some ways to add these fun effects. However, with all the image editing capabilities and programs available today, there are numerous ways to reach the same result. Finding what works best for you is key to your enjoyment of the craft.
In Conclusion
There are countless ways to create artistic effects with or without a lens hood or lens filter. Most photographers learn over time and explore their imaginations to find their style. Using different tools and methods makes you a stronger photographer! And camera accessories can make the process simpler.
A lens hood is undoubtedly a good investment, especially if you are looking to create quality images every time you shoot. A lens filter is great for special effects; however, most of the time, editing can achieve the same results with much more control. The lens filter also requires a lot more toiling with your settings to get the best possible image.
Both pieces of equipment offer different image effects, and they are certainly good investments as protection for your lens. Overall, the lens hood is a better investment because of its overall usefulness and convenience. Even after using a filter, you are still going to want to edit your image for other imperfections. A lens filter does not save you time, while a lens hood does save time.