Whether neglect caught up with you or the unthinkable happened, you now want to be able to tell if there is any damage to the lens before getting rid of it or buying another lens entirely. Your tried and true lens worked perfectly before but you need to find out it it still functions. The scary part is, you can buy a used one, and potentially end up with an even worse lens.
How to tell your lens is damaged? If you look through the lens at a bright surface with the aperture open and see anything on the lens, it may be damaged. Your camera lens should be clear of any dark spots so the light can go through unimpeded.
No matter what kind of lens you have, you want to make sure it is working properly before heading off to that special occasion or photo shoot. Take a look at these seven signs that your camera lens is damaged.
Table of Contents
How Do You Know Your Camera Lens Is Damaged?
Just looking through the camera lens can let you see any obvious damage. Take a look at the lens with it opened up, and you should be able to see any kind of damage to the lens.
Check for Problems with the Glass
The glass in the camera lens can suffer from various issues. Glass is delicate and can be scratched easily just from cleaning it improperly. Dropping the lens isn't the only way to damage it either. Here are some of the things that can affect the glass in your camera lens.
- Light Scratches: To check for scratches, hold the camera lens up to the light. Check the lens by reflecting the light off several surfaces at different angles. Most small scratches are not going to be a big issue and the larger ones can be buffed out by a professional. In fact, even in the case of some large and obvious scratches, you may want to rethink your options before replacing it because it may not show up at all.
- Dust: Almost all cameras end up with a few particles of dust in or on the lens. You will likely be able to see several dust spots in the lens when you look through it. However, these small spots are not a problem and will not even be noticeable when you take your shot. The dust will show up as dark spots in photos you take if they are large enough to be an issue.
- Fungus: If a camera lens has fungus growing inside of it, you will be able to see it easily. Fuzzy black spots that look like a bug or spider is a sure sign of a fungus bloom. This can happen if the lens was left in a dark and humid area or stored improperly after getting wet. Unfortunately, even if you take the lens apart and clean the fungus away, the fungal acid’s damage has probably already been done.
- Defects: Since camera lenses are coated with several layers of optical material to minimize light reflection, you have to check for bumps or other blemishes in the coating. Sometimes a splash of solvent or bump of the glass can cause critical flaws during production. You typically cannot see these spots unless they are large, and they will not be a problem if you cannot see them easily.
The Aperture Is Not Working Properly
When your lens is attached to the camera, it is open all the way to the maximum aperture. That means the maximum amount of light can come through. When you press the shutter, the lens adjusts to the correct aperture for the best exposure before opening back up. This is an automatic action that is done inside the camera lens in a spring-loaded action. Certain things can stop the aperture from working properly.
- Oil Damage: If there is any oil on the blades of the aperture, it can cause friction and slows the closing action, affecting the exposure. This means every photo you take will be overexposed because the aperture is staying open too long. You can tell there is oil on the blades if you see dark lines spreading from the center of the lens when you look inside of it.
- Sun Damage: If your camera lens has been left in the heat for too long, the grease from the focus gears gets hot and turns to a liquid. This liquid eventually finds its way into the aperture area where it causes all kinds of trouble. Having this fixed will usually cost more than buying a new lens so never leave your camera in the sun too long or in a hot car.
Check the Mount
Make sure the mount is clean and not damaged. Check the gold contacts to make sure they are not worn or dirty. Also, the camera lens mount can become loose with a lot of use. If your lens feels a bit wiggly when you mount it to the camera, you may need to take it to a professional for servicing.
Do Not Forget to Check the Focus Ring
If you feel a grinding or scratching when turning the focus ring, you know there is a problem. Alternatively, the movement should not be too loose that it moves on its own. Automatic focus camera lenses are easily moved but should not move on their own either.
The Zoom Ring Needs Attention Too
Check to see if the zoom is smooth. If the camera lens jams up when you try to zoom in on something, there may be a problem with the internal mechanism that needs to be fixed. It will just keep getting worse, so getting it fixed promptly can save you time and money.
Does Your Camera Have a Screw Loose?
Seriously, if you start noticing the screws on the outside of your camera coming loose, the ones inside are likely coming loose as well. This just happens from normal wear and tear over time. Getting it fixed right away can stop it from causing any significant issues like zoom jamming.
Is the Front Element Coming Loose?
Just from using a little too much pressure when cleaning your camera lens, you can cause the front element to eventually come loose. The front element is vital to protecting the internal parts of the lens, so make sure you get it fixed right away.
Could it Be Your Sensor and Not the Lens?
The sensor is the most sensitive part of your camera. It can be damaged from just about anything, including dust and scratches, just like the lens. If you are not sure if your lens or sensor is the problem with your camera, there are a few ways to determine the cause.
- If your screen has horizontal lines going through it, this is the most common sign of damage to the sensor.
- You may notice a group of rainbow-colored lines that make you think it is a damaged screen, but it is more often the sensor that is the problem.
Sensor Saving Tip:
Be sure to keep your camera capped when removing the lenses. This prevents dust or moisture from getting past the glass to your sensor.
- If you see red spots on the photos or videos you take, this is also a sign of a damaged sensor.
- Black spots mean the sensor is dirty, but red spots are bad. You will need to get it serviced as soon as you can.
- Less often, the first sign may be white spots on your videos or photos.
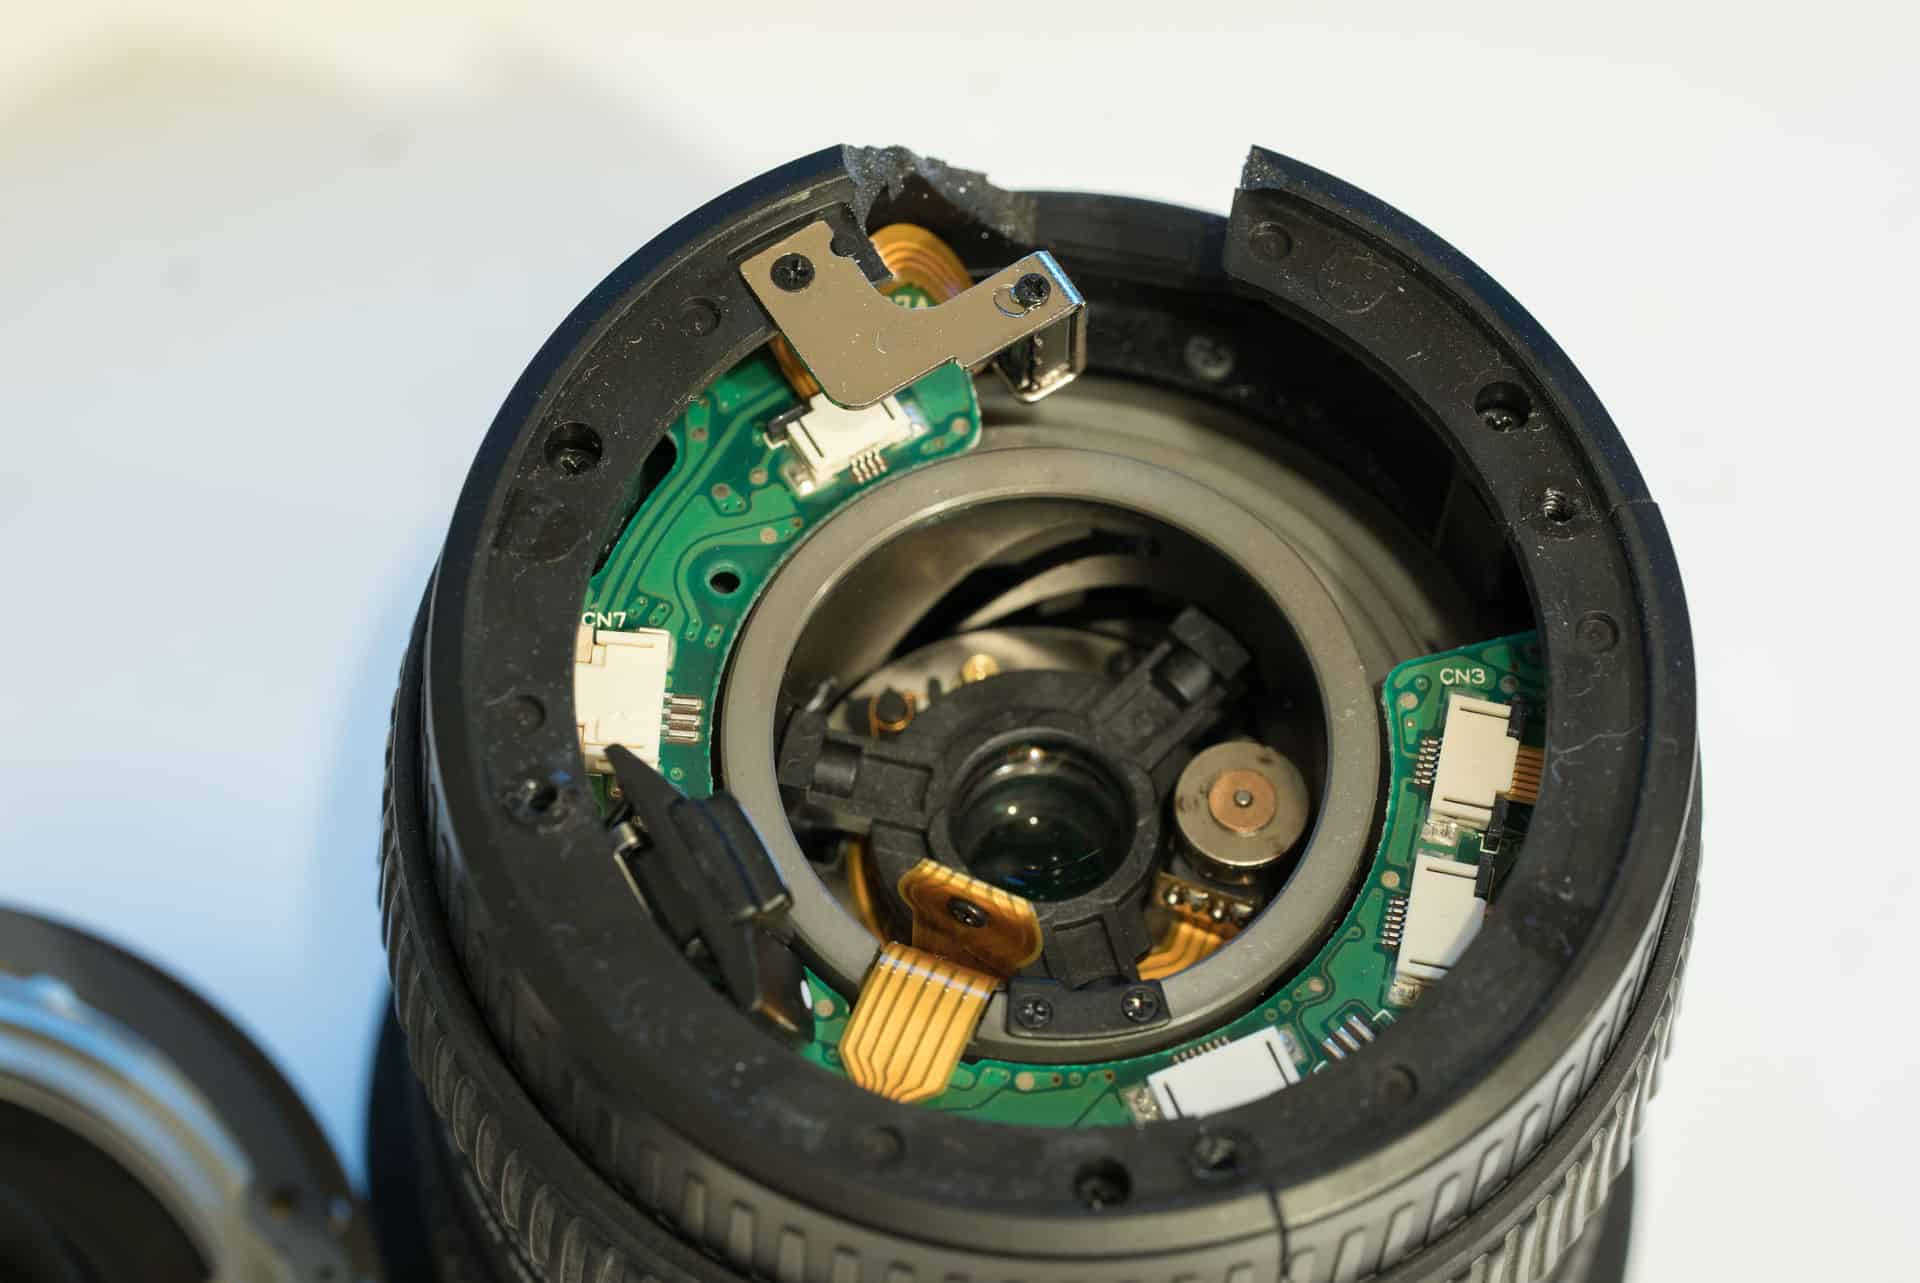
The Parts of Your Camera Lens
Even though it looks like one piece of plastic and glass, camera lenses have quite a few moving parts outside and inside. Each of these moving parts has its own important function in helping you take a great photo. If any of these parts inside the lens have experienced some damage, your beautiful shot will be marred.
In fact, the camera lens is the most important part of your camera. The inner parts of the lens bend the light to help you get a sharp image by focusing the light beams. Read on to find out more about each component and what it does.
Outside of the Lens
The outside of the lens includes five parts. Each one has a different purpose and they all depend on each other to get the best photo from your camera.
- Lens Mount: There is a white dot on the camera lens barrel that matches a dot on the camera. This is where you attach the lens to your camera body. After matching up the dots, turn the lens to lock it in.
- Lens Release Button: Most cameras have a lock button that keeps the camera lens in a compacted state. When you press this button, you can move the mechanisms to adjust the focal length and zoom to get things in focus.
- Zoom Ring: To change the focus, the zoom ring allows you to zoom in or out on the subject you are shooting. When you are far away and want to get a closer shot, you can zoom in with this ring to get closer without physically moving. When you need a wider shot for landscaping or photographing a group, you can zoom out with the same ring.
- Focusing Ring: The focus ring moves the inner parts of the camera lens to help you get the subject in focus. Depending on whether you have a manual or automatic focus lens, you can use the focus ring to get the sharpest image of the subject.
- Aperture Ring: Many older cameras have an aperture ring that adjusts the lens opening’s size to let in more or less light. This is what is called the f-stop and you select it by turning the ring.
What About the Inner Parts of the Lens?
Similar to a television or smartphone, the inner parts of your camera lens are typically just a mystery to most of us. That is because unless you are a professional camera servicer, you do not have a clue what any of these parts are.
What’s worse is that even if you know what they are, you will likely have no idea how they do what they do. The inner parts of the camera lens are called elements, and they are made from pieces of glass in different shapes and quality. They help you get that perfect focal range that you need.
That being said, the more you know about your camera lens, the better. So, if you really want to know more about your lenses’ inner workings, there are classes you can take to learn as much as you want. Check your local colleges or take an online course for more info.
Troubleshooting for Your Blurred Photos
Many things can go wrong with your shots that are really not a damaged camera lens issue. It’s hard to face, but it is more likely to be a user problem. Sometimes when you are trying to focus on something and your lens just does not want to go there, the problem is typically from user error.
Here are some things that can ruin your photo without your lens actually being damaged.
What Is Minimum Focusing Distance?
Each camera lens has its own minimum focusing distance that tells you how close you can get to something while still being able to focus. The numbers are usually written on the outside of the lens and are often found on the barrel.
For a typical kit, 18 to 55-millimeter lens, the minimum focusing distance is usually 0.8 feet. If you try to get closer, you will not be able to focus. These numbers may vary depending on the lens manufacturer though. It is always best to check the manual.
There Are Too Many Options
Alternatively, you may be trying to focus on something, but there are many other things that the camera lens wants to focus on. For example, if you are trying to get a shot of a bird in a tree, there may be other things in the shot that the lens is also trying to focus on.
Camera lenses do not have the power to read your mind. Even though you know you want to focus on that bird, the camera sees the branches or other birds as something to focus on as well. Try moving the camera a bit to get the focus back on the bird.
There May Be No Contrast
If your camera lens is having a hard time focusing but you are within the minimum focusing distance and there are no apparent distractions, it may be that your lens does not see enough of a contrast.
For instance, if you try to focus on a blank wall, the camera lens will have a hard time finding a focus. Try finding something on the wall that your lens can focus on like a picture or a person. You can also try getting more light on the subject.
Things to Avoid to Prevent Lens Damage
There are some obvious things to avoid when talking about your lens. For example, you do not want to play catch with your camera lens or take it in the shower with you. That being said, there are other things that you may not even consider until it is too late.
- Sand is one of the major enemies of your camera lens. You may have felt how scratchy the sand can be on your skin or other surfaces. So, you can just imagine the damage it can do to your delicate camera lens.
A tiny bit of sand in your lens can wreak havoc with camera settings or focusing and can severely damage the lens’ inner elements. Remember, these are made of highly sensitive glass with delicate coatings and are needed to focus your shots.
The best thing to do is to keep your camera away from the sand. But that is hard to do if you are taking shots at the beach. Protect your camera lens by keeping it in a camera bag and bring a microfiber cloth to gently brush away any sand that comes near it. - Salt is another element that you do not want to get inside your camera lens. So, if you are at the beach and it just happens to be a saltwater beach, exposure can be deadly to your lens. Corrosion and oxidation from the salt will eventually eat away at the metal and get into the gears and other moving parts. After a day at the beach, you may want to take your camera and lenses to be cleaned just in case you got salt or sand in any of the parts.
- Dust may not scratch your lens but enough of it can cause damage if it gets into the inner parts. The image sensor can get dirty and once there is dirt or dust on your image sensor, you may need to take it to get cleaned. Having your camera cleaned by a professional once a year is a good idea anyway.
- Humidity or water can cause fungus in your camera lens or its elements. Once that gets in there, you will not be able to get a clear shot of anything. Because fungus produces acids that can damage the glass and the other parts, by the time you see it, you may be too late. If you notice any fungus growth, immediately take your camera and lens(es) to a professional for inspection and repair.
- Chemicals can be dangerous to your entire camera, not just the lens. Even if it is only a regular item you use all the time like body lotion or sunscreen, it can damage the plastic as well as the lens.Anything you put on your body can be a danger to your camera lens. To avoid this, make sure your camera and lens are in the case when you’re not using them. You’ll also want to wash any chemicals off your hands and face before using your camera.
Keep Your Camera Lens Protected
To keep your camera lens in the best condition, keep it clean and protected at all times. Cleaning your lenses can be as easy as blowing the dirt or dust off. Or you may need to use a lens cleaner and cleaning cloth to remove any smudges or dirt that may have gotten onto the lens. Also be sure to take it to a professional annually for a detailed cleaning to prevent many of these issues above.
Lastly, if you purchased additional protection, be sure to read the fine print before embark on your redemption plan.