Digital cameras have been the go-to for photography for a while now, but many people are still unaware of how digital cameras store the images that they take. Even if you do know the general idea of how it works, you most likely don’t know all the tiny details that come together to make these cameras save all of the images you take.
How do digital cameras store images? At the most basic level, a digital camera "sees" and stores an image by:
- Light going through the lens and passing through the diaphragm.
- Light striking the light detector after the you click the shutter release.
- The sensor interpreting the image using the base colors of Red, Green, and/or Blue.
- The frequency from the sensor storing image onto memory as binary numbers.
Digital cameras use several of their components in conjunction with each other to produce the image which is saved on a storage device. When a photo is taken on a digital camera, surprisingly, it is saved as a series of numbers that make up the image we see. This is just the gist of it, though, and the fine details of how all this comes together are quite interesting!
How the Camera Saves its Images - The Basics
Before we dig into the more intricate details, let’s cover the basics of how your camera stores your photos.
Capturing the Image
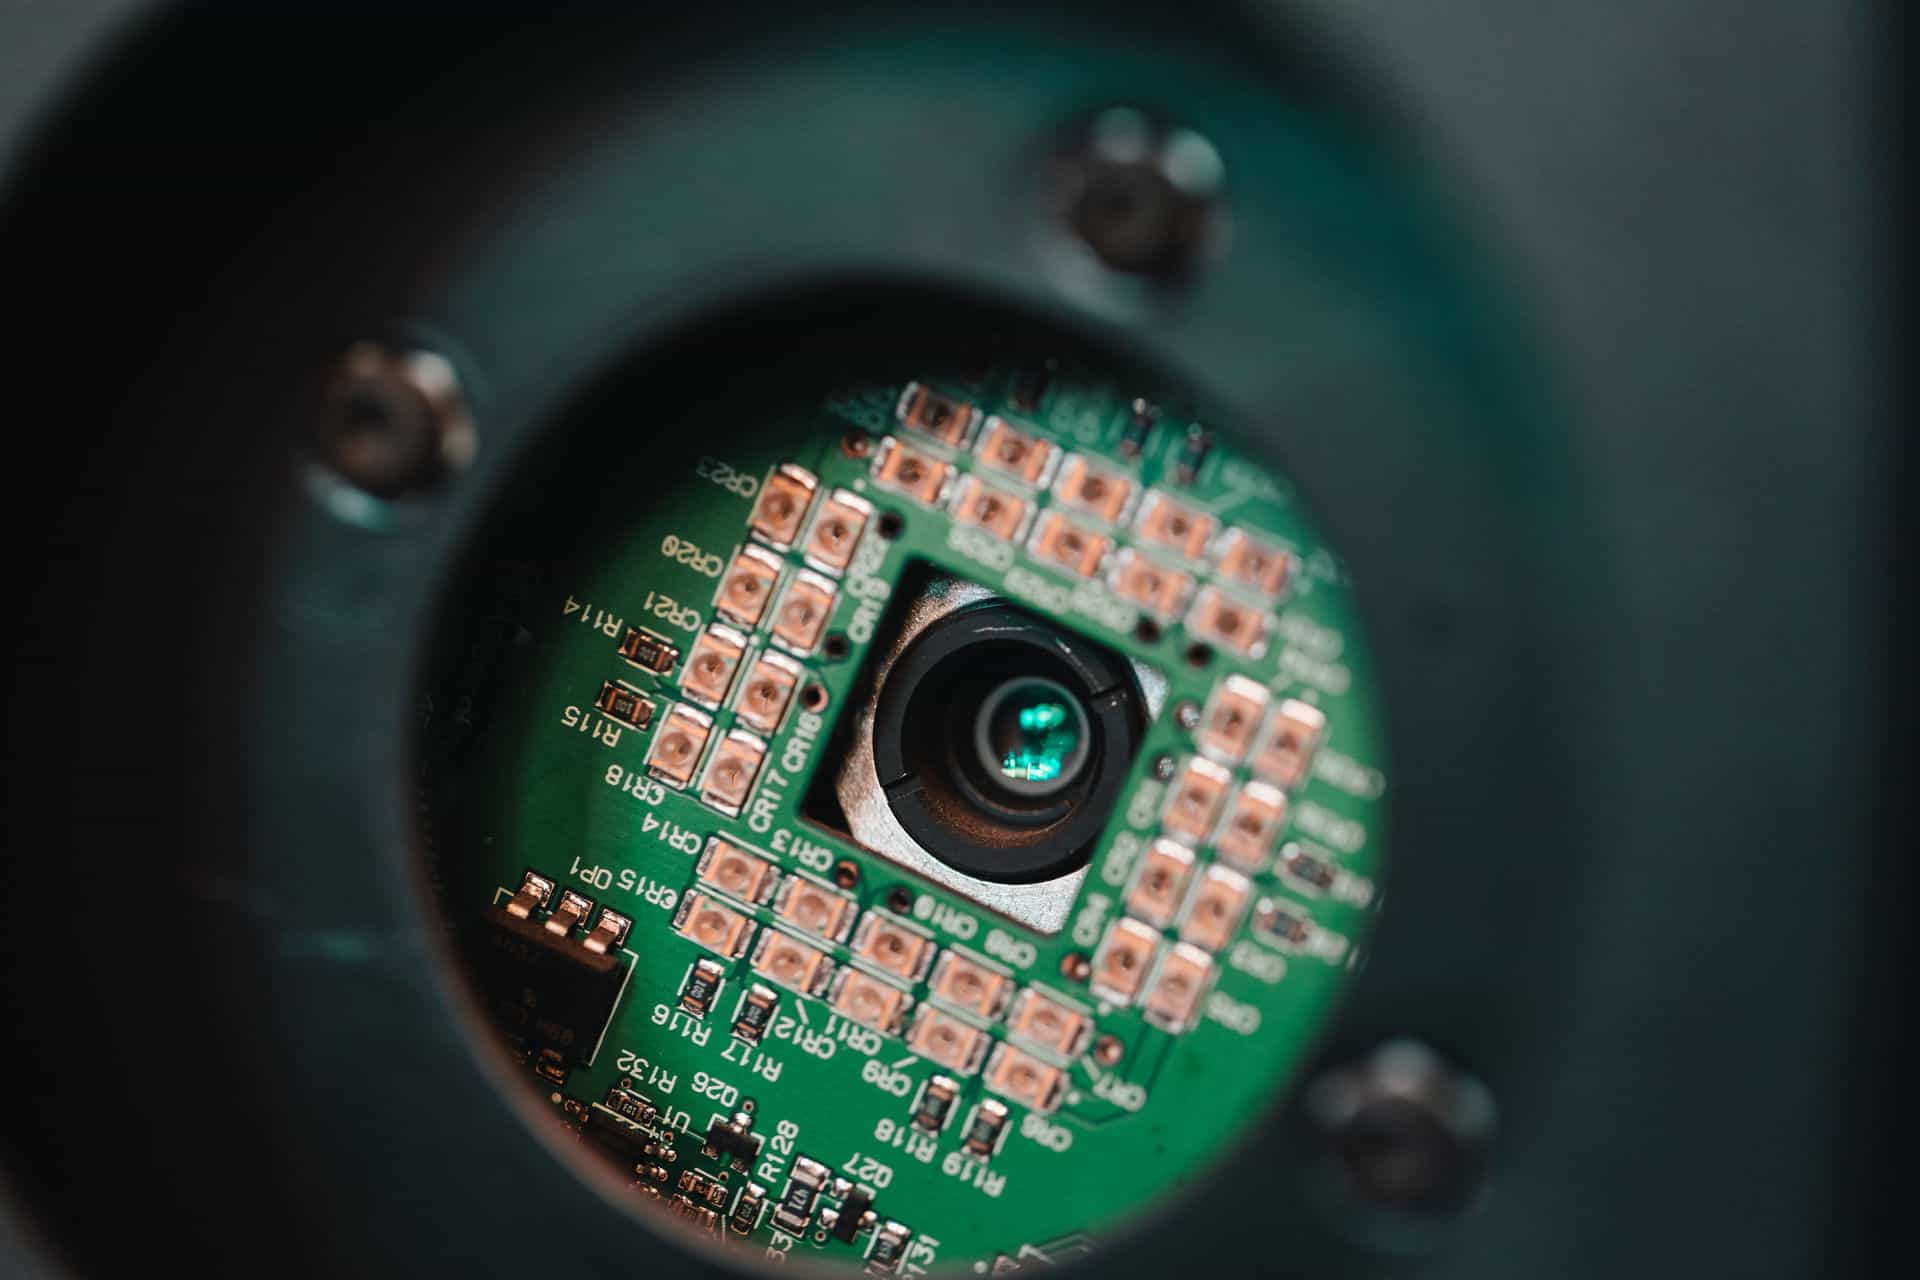
Since this is a digital camera, no film is used to save the image. Instead, the image you just captured as an electronic element called a light detector takes a photo. The name “light detector” is quite literal too. This device captures the light bouncing off the image of which you are taking a photograph.
There are a few basic steps that must happen for the light to hit the light detector. In the video How a Digital Camera Works (he disabled embedding) by Richard Berry discusses this idea and also gives tips on how to best use these features on your camera.
- The light goes through the lens and passes through the diaphragm (which has the aperture at its center).
- You click the shutter release, which opens the shutter and light strikes the light detector, which translates the image that it “sees.”
After the Image Is Taken
Now that the image has gone through the lens and hit the sensor, what happens next?
- The sensor is a collection of millions of light detectors called sensels (video seen below) that are in a gridded format. Light, as many know, is electromagnetic radiation. After light comes through the lens and hits the light detector, it interprets the image, and each sensel gives a tiny part of the image a color frequency using the base colors of Red, Green, or Blue.
- This frequency is then stored as binary numbers that represent the colors. The stuff all you see on hackers' screens in movies, all those 1’s and 0’s, that is what your computer stores the image as! The reason it is saved that way is so that the computing device can interpret the image.
- The code is saved onto a memory card. Digital cameras need a memory card to save the data from the image
So, when you take a picture, you are doing a lot more than just changing the settings and pressing a button. That one little click sets off a very complicated chain of events to get your photo. It all seems so simple but there are many pieces that need to come together.
Extra Advice: Backing Up Your Images
The images you capture will be visible on your camera’s LCD screen. This lets you see the pictures you have taken and helps you make sure that they are to your liking. But, you are most likely going to want to do more than just look at your images on a tiny screen!
Digital cameras should have some type of removable storage device, such as a Secure Digital Card, (even CompactFlash Cards). These are used to transfer images over to a computer. Many cameras also allow you to plug them right into your computer in addition to having options for removable storage. You can either view the images like a more complicated flash drive or use software from the manufacturer to view, transfer, and curate your photos.
Take it from an IT pro. It is critical to back up your images to your computer, just like you would back up important files at work. If you don't, when something happens where you lose data, it's too late!
If you go a long time without saving them, and you were to lose your camera or damage it, there is a good chance you will never see those photos again. So, just make sure you are regularly backing your images up onto another device to make sure that you don’t accidentally lose any of those memory-filled pictures.
How to Take Great Photos and an In-Depth Look at How Images Are Saved
Above, I mentioned some of the main parts of the camera involved in taking and saving a picture are the aperture and shutter/shutter-release button. If you are just getting into photography, or if you just do it occasionally as a hobby, then you may not be fully aware of how you can manipulate these to get the best image possible.
Even if you are a seasoned pro, it never hurts to go back to the basics for a bit to see how far you have come in your understanding of the camera.
So, I will break this down to show how to use these to get the best image possible! I will also be talking about a setting called ISO, which is important to consider when snapping a picture.
Aperture - Why Is it Important?
The aperture, as defined by Nikon, “is the opening of a lens’s diaphragm through which light passes.” In layman’s terms, it essentially is a hole that determines how much light is let in. Although this may seem like a relatively trivial matter, the aperture size will have a significant effect on your image and should be chosen depending on what you are trying to capture.
Aperture is calibrated as f/stops. I know this may sound weird, but a lower f/stop gives more exposure, while a higher one gives lower exposure!
So, why does aperture matter? Well, choosing the wrong one could mess up your picture! If you took a landscape shot with a low f/stop, you would not get that beautiful scenery. If you were to try and take a photo of someone with a high f/stop, with the intention of them being the focus, then the background could distract from the subject! This of course is moot when you are experimenting with what works (and what doesn't) at a job.
Essentially, a low f/stop gives you a lower depth of field, which means the background is blurry. This is great when you are trying to take an image with a subject as the central focus, and do not want the viewer to pay attention to anything else. Whether that subject is human, animal, plant, or some inanimate object, if you want that subject to pop, you want a low f/stop.
A high f/stop will give you a bigger depth of field, which means that the background will be clear and crisp. This is perfect for large landscape shots where you want to get all the elements of the scenery around you. You can also have a central subject in these shots, but it is best to put them in the center of the image if you want to focus on them.
The Shutter-Release Button and Shutter
The shutter release button is a button, usually located on top of the camera that you press down to take the image. Behind the scenes, though, you are doing a lot more than just pressing a button.
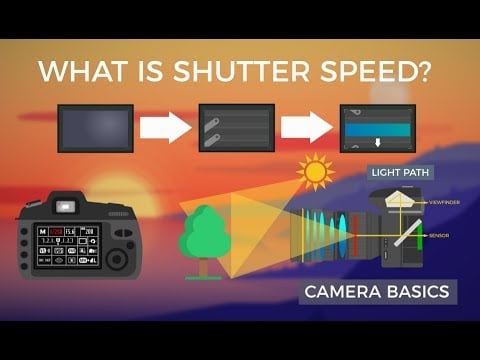
When you depress the button, the shutter opens up, allowing light in. Although, unlike the aperture, which determines how much light comes in, this determines the amount of time the light sensor is exposed to light. This is also referred to as exposure time.
Shutter speed is measured in a matter of seconds, with most happening in under one second. Fast shutter speed allows you to capture extremely fine details such as individual hairs on someone’s head blowing in the wind or single water droplets coming off of a wet bear as it runs through the valley. Apalapse puts it best in their video, Camera Basics- Shutter Speed (shown below), when they note that fast shutter speed “freezes action.”
A long exposure, known as long exposure photography, uses a slower shutter speed. This can create a cool motion blur effect you see in some images. It is also used in astronomy to catch high-resolution images of the night sky and astronomical bodies, as the longer exposure allows more light to be captured, creating the beautiful images we see.
According to Nikon’s article on Aperture (linked above), the aperture you choose will affect the shutter speed. Since a low f/stop means that there is more light entering the lens, then the shutter speed is faster as it does not need to stay open as long to make an accurate exposure. The reverse is true when you use a high f/stop.
ISO and Why You Should Pay Attention to It
Although I did not mention ISO earlier when I was talking about the elements of the camera that get the light to the light sensor, it is still an important aspect of photography to be aware of. Essentially, ISO changes the light sensitivity of the sensor.
According to the Apalapse video, Camera Basics – ISO (shown below) the more you increase the ISO, the light you will need to expose the image will decrease.
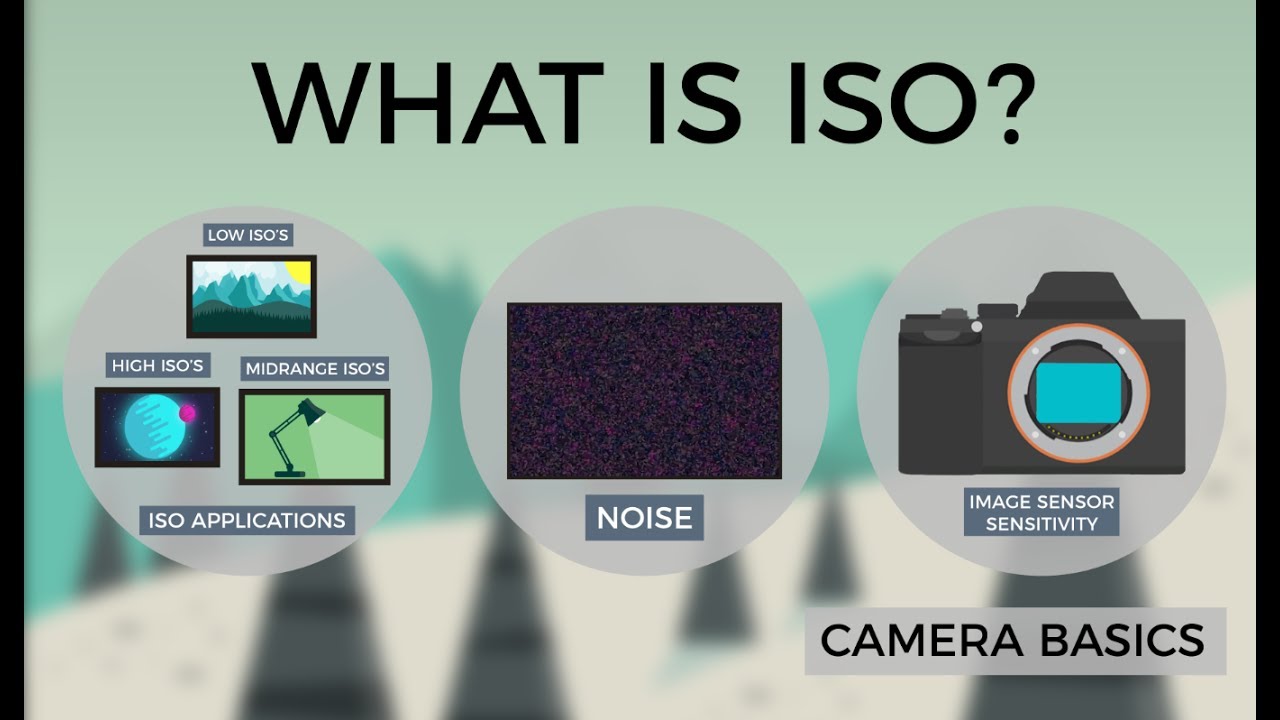
You are basically just increasing the sensitivity. This, unfortunately, increases the noise of the image (i.e., it can make an image look grainy). ISO can reduce color accuracy and dynamic range. Generally, you want the ISO to be on the lowest setting.
You should note, you can’t always use this lowest setting. Especially in darkened areas where there is not as much light for the camera to capture, you are going to need to increase the ISO a bit to get a clear photo.
On Light Sensors
Earlier, I talked about how light sensors are what receive the light from the photos and convert it to binary so that a computing device can understand and save it. There isn’t one catch-all sensor though, in fact, you have some options when it comes to the sensors! And, each one works a bit differently to save the image
According to PictureCorrect, in their article breaking down the YouTube video by Techquickie, there are two main forms of sensors that can be used to capture this image: a CCD (Charged Coupled Device) or a CMOS (Complementary Metal Oxide Semiconductor). They note that CCD sensors are generally professional grade sensors while CMOS are for the regular consumer.
CCD sensors register photon rays in silicon, which has a grid of pixels, which capture electron charges. PictureCorrect notes that, “They are processed from the bottom of the grid to the top of the grid into a serial shift register and pushed out a single charge at a time to be converted into an analog voltage that is transformed into coding.” It is then sent to the CPU, the drive you save the images on.
CMOS, on the other hand, “shuffle electron charges along an array to then be modified.” With CMOS, extra circuitry is added to each pixel, which allows it to process individually using the signal it receives, which is then sent to the CPU.
Advantages of Digital
Even after the release of digital cameras, for a long while, cameras that used film were still preferred. This is because digital could not achieve the same quality that film did. Digital gave washed-out dull colors that just didn’t look great.
But, with technology advancing ever faster, digital is just as high quality as film and even boasts many advantages over film.
Ease of Editing
Before there were computer programs like Photoshop, hand-done Photo Manipulation was necessary to edit images. And it was not easy. In fact, it was extremely difficult.
When images were still captured on film, photo editing involved laborious hours of meticulously altering the photos through the use of art supplies such as paint and paintbrushes, erasers, and airbrushes (Source: CreativeLive)!
If you wanted to edit a photograph, you had to have the know-how on how to do it. Even easy stuff today, such as editing out facial imperfections, would have required a great artist with a very, very steady hand back in the day.
But progress seems to make things easier most of the time. And, unsurprisingly, advances in computer editing software and digital photography have made editing photos much easier. It is so easy, in fact, that lots of people have a basic understanding of how to edit photos through apps such as Facetune.
But, if you are serious about photography and have a camera, then you should consider using programs such as Photoshop (if you have not done this already). Since you can easily load photos from your camera to your computer, this should be no issue at all. If you do have issues figuring this out how to import your images, these instructions will show you the steps.
Now, don’t get me wrong; there is still a learning curve with programs like Photoshop. There are hundreds, if not thousands, of tutorials you can watch on YouTube, though. And, there are just as many articles on the subject too. One thing is for sure; it is a lot easier to do than hand-correcting photos with tools like paintbrushes and erasers.
Getting into Photography
Maybe you are interested in getting into photography, and that is why you are looking up how digital cameras store their images. Perhaps you are trying to figure out if you want a digital camera, or maybe you are trying to find what kind of storage you need for a camera. Whatever the case is, photography is a great hobby to pick up, and can even become a job for some!
Remember, though, photography is much more than just these few tips I offered. If you get into photography, trial and error is important. The best way to learn how the camera works is by using it yourself and testing different things out. This does not mean you can’t have in-depth help though!
There are numerous resources for photographers that can be great for both beginners and those who have been doing this for years.
Here is a list of some resources you can use to up your photography game:
- YouTube: YouTube is an excellent resource to learn about photography. Channels like the aforementioned Apalapse have great tutorial videos where you can learn photography tips and tricks. The best thing is, it is free!
- Skillshare and Udemy: These are websites where you can learn a plethora of skills, including photography, through online classes. These classes will cost you money, but they will often be more in-depth than YouTube. They will have structured lesson plans that will often take you from beginner to expert. Some classes will even let you interact with the teacher, who can give you advice on your work. I will be reviewing some of my favorite classes in the future!
- Masterclass: Masterclass is essentially the same as Skillshare and Udemy. You pay for classes that have lesson plans, resources, and you can interact with some of the teachers. The exception is that you are getting lessons from people who are experts in their field, such as Martin Scorsese for filmmaking and Steve Martin for comedy. For photography, Annie Leibovitz is a teacher on Masterclass.
Whatever you choose, make the most of the lessons you take and try to see where you can apply them to your photography!
In Conclusion
Digital cameras use a complex process in order to take an image, and then translate it into a code that is saved onto the camera’s memory device. Because it is coded, that means that it can be transferred over to a computer and then (with a bit of know-how) easily manipulated in programs like Photoshop.
Because of these advancements, photography has been opened up to more people than ever before. Also, the advent of online learning, both free and paid, means that anyone can hone their skills as a photographer, and possibly even make it a career.