Jewelry can be difficult to photograph without a model. Living people can help show off the curves, angles, and beauty of jewelry easily, but it is possible to get by and produce beautiful jewelry shots without them. With the plethora of technology and backdrops available today, taking beautiful shots of jewelry is easy with a bit of time and effort.
How do you take a picture of jewelry without a model? You can use mannequins to highlight jewelry as it would look on a model. To photograph jewelry without a model, first decide what the photographs are for. Consider whether they will be used for promotional, product, or fashion photographs. Each of these has different requirements and recommendations that revolve around how clear the jewelry is in the shot.
There are lots of tips and tricks around taking great photographs of jewelry without a model to help work stand out and be eye catching.
Table of Contents
Consider What the Photograph Will Be Used For
Knowing what the jewelry photograph will be used for is essential in figuring out the best way to take the shot without a model. Normally, a model would be used to take fashion or promotional shots of jewelry, but there are some easy ways to get around this.
To get the best results for each photograph, be clear, and stick to one main use. While promotional photographs could theoretically be used to sell the jewelry on an online marketplace, it is less likely to get results.
Photographs of jewelry are abundant and can be found almost anywhere, so it is important to make yours stand out. To do this, it is important to understand each of the three major categories that jewelry photographs fall under. These three are:
- Promotional Photographs - used for marketing material.
- Marketplace Photographs - used for clearly showing off the jewelry with no fan-fair.
- Fashion Photographs - used to show off the jewelry artistically, both for marketing and art.
Depending on how the jewelry will be sold or marketed, only one or two types of photographs may be needed. Decide beforehand or discuss with your client to figure out what types of photographs they may need.
Shooting for Promotional Photographs
Shooting for promotional photographs is one of the most common ways of shooting jewelry. These photos can be thought of as commercials or ads for the jewelry; they are supposed to be eye-catching and memorable, not necessarily showing off every detail of the jewelry.
Because jewelry is so small, these shots are often accompanied by details that suggest the style of the jewelry. This means that, for instance, diamond jewelry may be accompanied by champagne glasses, expensive dresses, etc. - things that will normally be seen around diamonds in real life.
It is important to remember that jewelry is still the most important part of these photographs. Unless the shot is for an extremely well-established brand, it is important to show off the product in a tasteful way that leaves viewers wanting to see more.
Taking good promotional photographs ultimately comes down to selling the jewelry’s lifestyle. Consider the materials used in the jewelry’s construction, the target audience, and any other information you can get when taking these photos.
Normally, these types of shots are exactly where models would be useful. However, they are not necessary. Top Down spreads showing the jewelry mixed with other items, draped over furniture, or in exciting locations can all have the same effect without the need for a live model.
Shooting for Selling Online
Taking photographs to sell jewelry online is a much different beast than both promotional and fashion shots. These shots should not feature any accessories or even any other item in frame, focusing solely on the jewelry.
Photographs for online marketplaces and other stores are meant to show off the jewelry as it is. By the time customers are on the site looking at the jewelry, they no longer need to be drawn in by flashy images or exciting photographs. Instead, they are searching for details that show exactly what the jewelry looks like.
Toward that end, be sure that selling shots contain the following:
- Good, consistent lighting - show off the jewelry in the best possible way.
- A plain background - most often, this is white. Some jewelers use black backgrounds.
- No reflections - Be sure the photographer or other local objects are not reflecting off of any shiny surfaces on the jewelry.
- Minimum retouching - customers want to trust the images they see. Do not Photoshop or alter the images beyond what is absolutely necessary.
Depending on what marketplace the jewelry will be sold on, some further requirements may be necessary. For instance, some only allow photographs of products on plain white backgrounds or require shots from multiple angles. For example, Amazon’s requirements for product photography can be found here. Also, here is another guide to Amazon product image best practices.
It is best to take a variety of selling shots of jewelry to show customers different angles and viewpoints. Not only will this allow them to make the best decision for themselves, but it will also show off the jewelry’s beauty.
Occasionally, it could be useful to show the jewelry on a hand or around a neck while selling it. Rather than using a model for this, product photography will often use a silhouette. This is when a simple, monocolored, stylized hand or neckline is used in place of an actual person. This is useful for showing size and shape compared to a normal person.
Silhouette shots should never make up the majority of product photography, as they can quickly become tacky or useless. However, they are worth taking one or two depending on the item. The silhouette is added after in an image processing tool.
Shooting for Fashion
Taking photographs for fashion images of jewelry can become tricky. It is important to make the distinction that fashion shots are not actually shots showing off fashion, but rather taking photographs of the jewelry in the style of fashion. This can be confusing, especially to new photographers or those unfamiliar with fashion photography.
Rather than showing off or selling the product, fashion photography focuses on telling a unique and thoughtful story using the jewelry. These shots are often the least needed for jewelry, but any brand that is interested in establishing itself as a fashion jeweler or trendy will likely need a few.
Consider what styles, icons, and lifestyles that the jewelry imagines. What do diamonds say about the person wearing them, or a beautiful ruby necklace? Once ideas are flowing, it is time to get creative.
Unlike promotional photography, fashion photography for jewelry does not need to maintain the jewelry as the focus. It should still be a large part of the photograph, but these types of shots often revolve around accompanying objects that promote the same feeling as the jewelry.
Tell a story or invoke a feeling that the jewelry helps tell, and capture it in a photograph. At its most basic level, that is what a fashion shot is. Of course, this is challenging and frankly may not be helpful for many small jewelers. It is important to consider your needs and the type of jewelry being photographed.
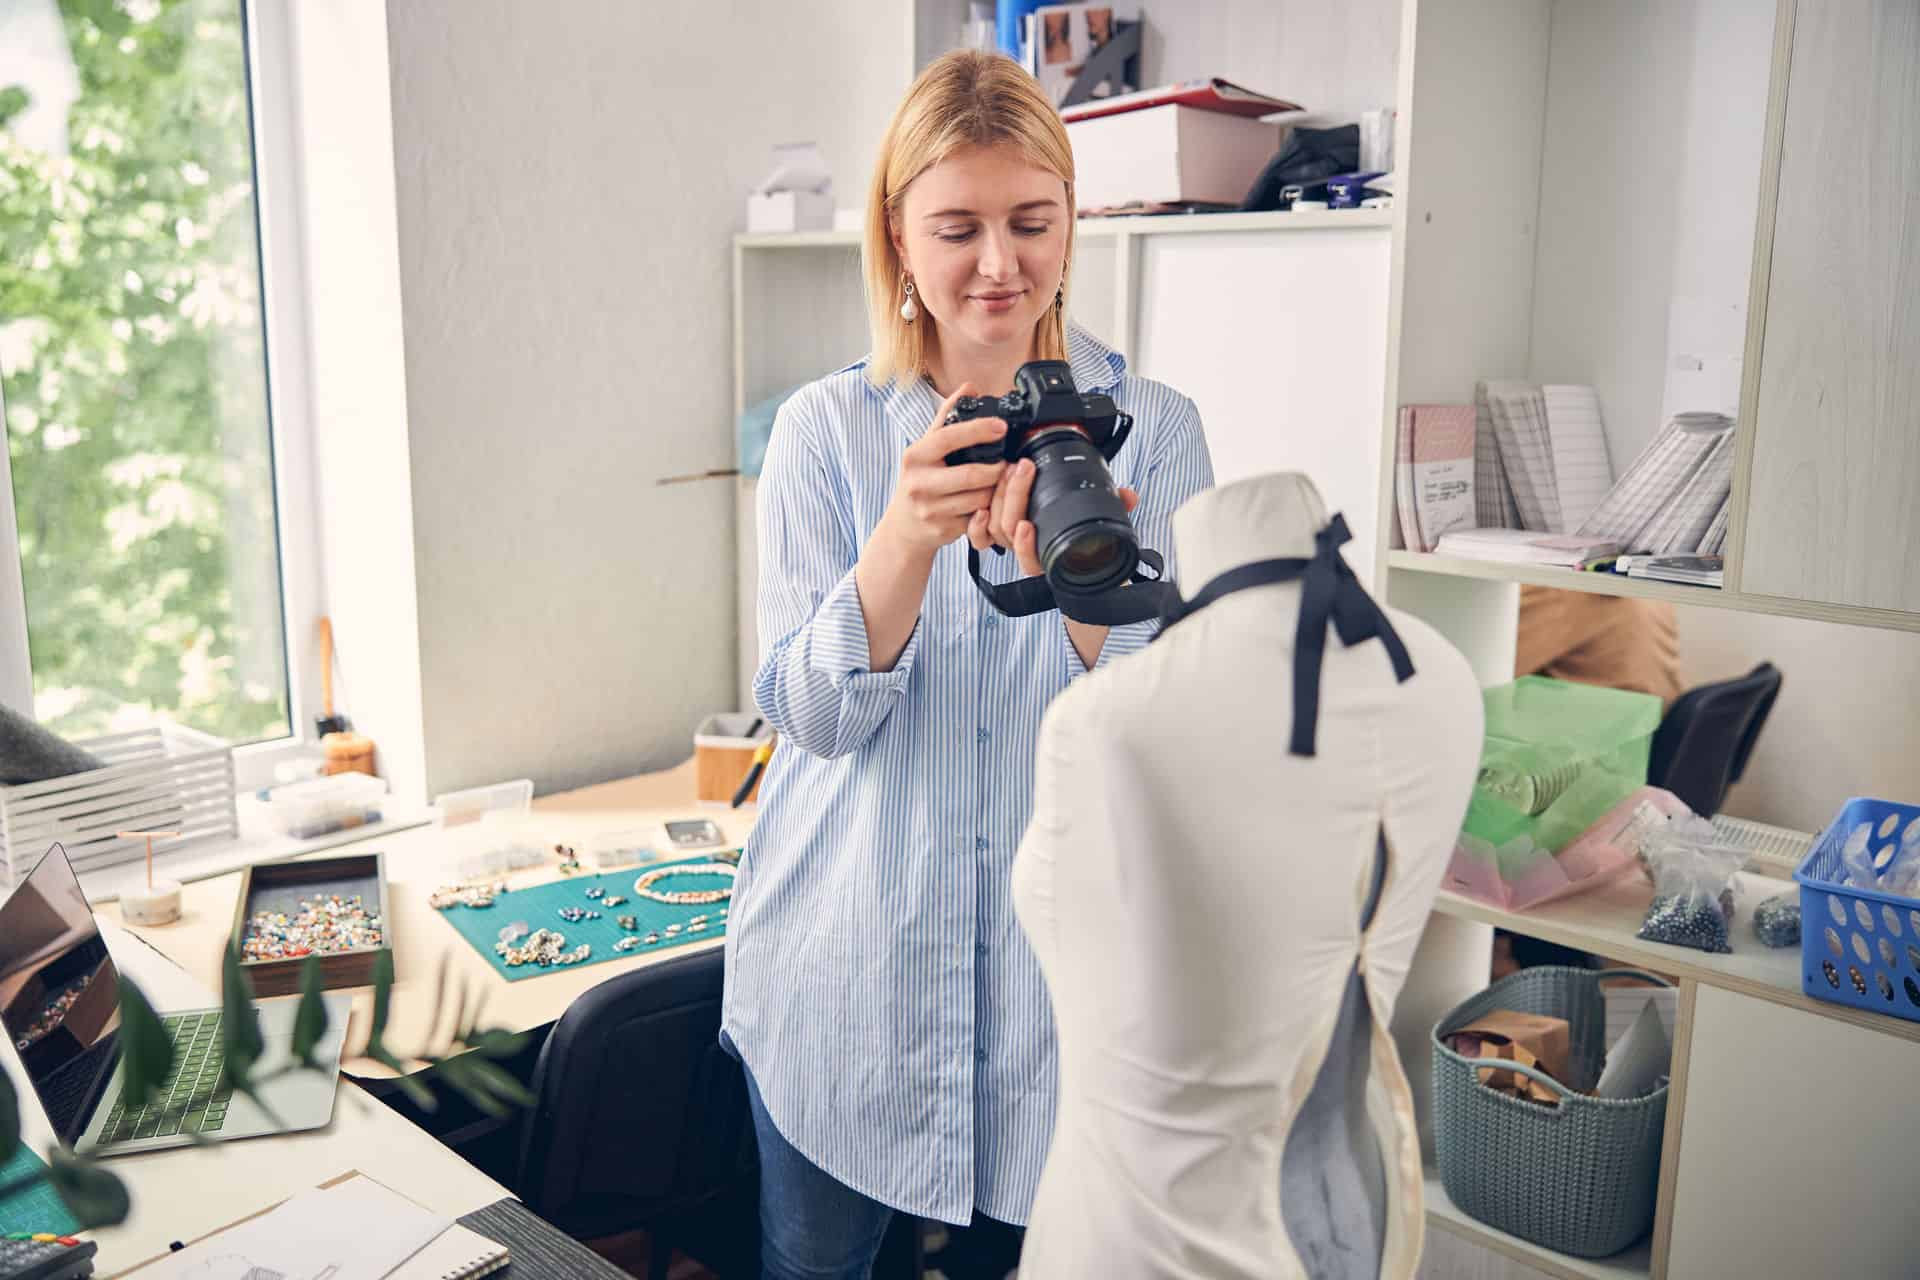
Fashion shots often use live models to help tell the story, but they can easily be replaced. Mannequins work especially well with fashion shots, providing a unique look that can help set a variety of moods. Heavy editing showing the jewelry in a variety of settings can also help sell the style without the need for models.
Mannequins Can Show the Form of the Jewelry
Mannequins are one of the easiest and most common replacements for live models. When it comes to showing off jewelry, live models are often appreciated for their ability to move, show the jewelry while accompanied by different clothing, and display how the jewelry fits the human frame.
Luckily, mannequins can cover all of that with a little bit of extra time and effort. They also come with their own host of benefits, including:
- They are cheap - you can buy a mannequin and keep it for multiple shoots, or rent one every time.
- They are easily moved - mannequins can be perched or placed in interesting locations where real people cannot go, creating interesting shots.
- They come in a variety of sizes - whether showing off jewelry intended for males, females, large or small body types, mannequins are easily available that cover them all.
Even with all of these benefits, the main purpose of using a mannequin is to show off the form of jewelry. One of the most important things to show off while promoting or selling a piece of jewelry is how it fits on someone, whether that’s a ring’s size in relation to a finger or the way a necklace drapes someone’s neck. This is often impossible to show without a model or mannequin leading the way.
Deciding What Type of Mannequin You Need
Mannequins come in a variety of sizes and body shapes, allowing for a host of different options. Most often, jewelry is shown on an average female frame, so that is likely the best starting place. However, if you often photograph jewelry for men or products targeted at children, it may be best to grab a mannequin fitting those body types instead.
Mannequins are available in full-sized, waist up, or bust sizes.
Full mannequins cover the whole body, traditionally at a 1:1 scale. These are useful for showing off jewelry that covers the belly, ankles, legs, feet - anywhere on the body.
Most jewelry photographers will spend the majority of their time taking photographs of jewelry on the hands and neck, so a full mannequin is likely overkill for a beginner. They can also be quite pricey and take up a lot of space. If you require a full mannequin, consider looking for large stores closing their doors - they often will sell them for a cheap price.
Waist up mannequins are half-sized, showing only from the stomach up. This is a great option for most jewelry photographers as it covers the neckline and hands perfectly while staying a manageable size. Waist up mannequins can be hard to find, so you may spend a significant amount of time looking for one. Additionally, because they are rarer, it will be difficult to find one in a hyper-specific body shape.
Consider what other uses for mannequins you may need before deciding on a waist up size. If you plan to use the mannequins for promotional photos or fashion shots, a full body could be highly beneficial. Likewise, if you only do product photography, grabbing a bust and hand could be an even better option.
Bust sized mannequins are only from the shoulders up. This shows off the neckline and head and is perfect for necklaces or headwear. These take up almost no space and are widely available in a variety of colors and materials, making them great for basic product photography or certain promotional shots.
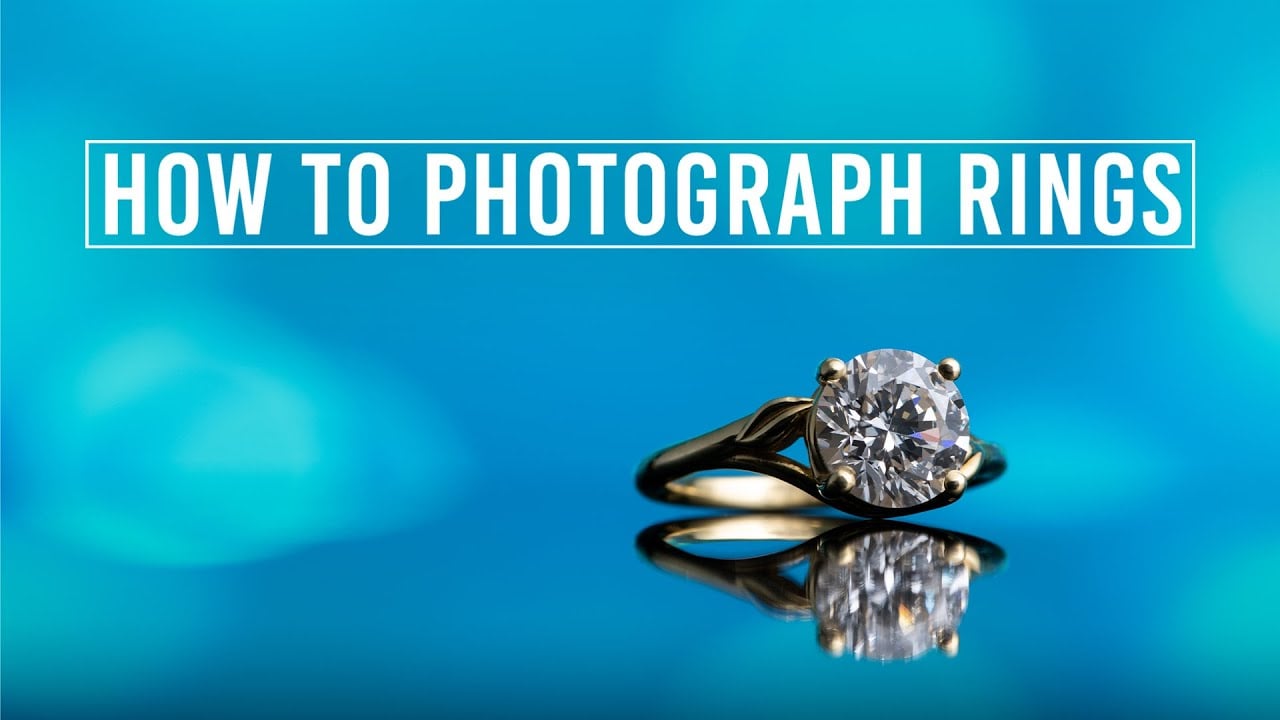
Rings are some of the most common jewelry items to photograph, and busts sadly do not have hands. To combat this while keeping the mannequin size small, consider grabbing a hand sculpture as well. This is a simple, full-sized mannequin hand that can be used to show off rings, bracelets, and hand jewelry. When combined with a bust, it is the smallest and easiest way to photograph most jewelry on a mannequin.
Use Mannequins to Show Pieces That Look Best Worn
Mannequins are best used when they show off how a piece of jewelry drapes the body or fits in comparison to the human frame. While they can be used to introduce movement or size to a shot, their best use relies on the fact that they share the same scale as humans.
This is most applicable when it comes to showing off large necklaces or differently sized rings. As the jewelry comes to rest on the body, different parts of the jewelry will shine and reflect when compared to laying flat on a table. Customers often want to see these differences for themselves, making mannequins an easy and great alternative to models.
Using mannequins to show off rings is also useful for similar reasons. Rather than relying on silhouettes or online sizing guides, showing how large a ring is in direct comparison to a finger provides easy, visible feedback to customers. This can help show off a particularly large jewel, an intricate band, or the shine of lighting at the ring wraps around a finger.
Mannequins help to show off the details in jewelry by letting viewers focus on the fit.
Use Different Accessories to Tell a Story in the Photograph
To make up for the lack of living models, one of the most important things to do is introduce accessories and other materials into jewelry shots. Anytime a model would have been used to show off the jewelry, such as in promotional or fashion shots, accessories and backdrops can likely replace them with minimal effort.
When figuring out which accessories to use with what jewelry, consider the following:
- The materials used in the jewelry.
- The intention for the piece of jewelry.
- What feeling does the jewelry want to show?
The last two pieces are intentionally vague; answers to those two questions will change heavily on the photographer, jeweler, and customers. Be creative, but follow some basic tips to get started.
Telling a story through the photograph is one of the most important things to do when taking jewelry photographs. While using a model often makes this easier and opens up options, it is possible to replicate the effect without them. This story is told by the accessories accompanying the jewelry, the colors used in the frame, and the mood of the photograph.
Consider the Materials Used in the Jewelry
The materials used in the jewelry will help decide several accessories to be used in the photographs. A natural wood and stone necklace should likely be shot in the mountains or on a beach, not surrounded by expensive cloth and lavish rugs.
Matching the materials in the jewelry to similar materials for the backdrop or accompanying accessories will create cohesive, complete photography. When done well, these materials will also highlight the unique aspects of the jewelry, allowing customers to remember the piece for later.
Matching material comes down to matching color, feel, and style. Often when photographing jewelry, it will be too expensive to get the same construction materials in raw form to place around the jewelry. In cases like this, focus on grabbing similar colors and types of materials - an exact match is not needed.
For instance, a bracelet constructed from dark gems and rocks could be photographed with accessories that share a similar rock texture, or other black materials. If the bracelet is marketed toward high-class office workers, a nice black keyboard could work as a unique and oddly-fitting piece. Be creative with what accompanies the jewelry!
Inspiration for these sorts of shots can be found in any fashion magazine; take a look at The Jewelry Magazine’s ads, for instance. Each picture matches the colors or tells a story with the jewelry shown.
The Intention for the Jewelry
The intention of the jewelry will also help decide how to photograph it. This was touched on briefly with the keyboard example, but this comes down to knowing who is being targeted with these jewelry ads. If the primary target is middle-class women, dressing up the jewelry with sawdust or pine cones is likely to not yield the desired results.
Once the materials of the jewelry have been noted, then it is time to consider who will buy or wear the jewelry. Knowing that the color red makes the ring shine is great, and amplified even more when paired with expensive wines that suggest to the buyer a life of luxury. This is possible on rings or necklaces that tout quality and delicateness, for instance.
Figuring out the intention of the jewelry comes down to knowing who the intended audience is. For large companies, this will often be done by a marketing team who then translates this to the photographer. Small companies or one-person teams can simply look at buying trends or who they would like to sell to and go from there.
Most jewelry is intended to make people feel expensive, and most photography falls into that category. It is rare to find images of jewelry not accompanied by expensive fabrics, wines, or places, as that is most common. However, smaller shops have started to change this stigma, and more options for who to market to are becoming available.
Tell a Story With Small, Scattered Items in Frame
Telling a story with the accessories is the single most important thing to be done while photographing jewelry without a model. Traditionally, a model would be able to inject life and feeling into a photograph. That is hard to achieve without a real person in the frame, but not impossible. Instead, photographers must rely on cohesive shots that make use of different aspects to invoke feeling.
Telling a story in a photograph is an art form, and if you are an experienced photographer this will likely come naturally to you. However, many beginners struggle with this. Telling a story in a photograph means making viewers imagine one. Unlike traditional media like writing, a photograph will not have a three-act structure with a neatly laid out story. Instead, photographers must use what they can to invoke a story in the viewer’s mind.
This sounds more difficult than it is. For example, imagine a photograph showing a diamond ring. It is surrounded by a discarded red robe, an empty wine glass, and a broken picture frame of a happy couple. Just with that information, your mind is likely wondering about what could have happened.
Of course, most stories in photographs meant to sell items are happier than that, often revolving around a fun night out or a beautiful day in nature. Whatever the case may be, consider what story the jewelry and you want to tell in the image.
Once a basic story, mood, or feeling has been decided on, consider what materials and objects are available to help convey that. It is best to not get too crazy here, especially if you are using the photograph for promotional photography. The jewelry should still be the focus, and the accessories are meant to support that.
The exception to using accessories or telling a story is product photography. Shots meant as the main photographs for buying online or using on a marketplace should be simple, showcase only the jewelry, and be clear in their intention. Story-driven shots are great for promotional or fashion-oriented photos.
Pay Attention to Proper Photography Setup to Get Great Photos
To capture great jewelry photographs without a model, it is important to focus on the basics. Often, models can help hide imperfections in the shot by providing another area for eyes to focus on, but you lose that when the model disappears. In shots without a model, people tend to be more critical of the jewelry itself and notice more details.
Due to this, it is even more important to capture those details well. Ensuring proper lighting, avoiding reflections, and properly focusing on the whole piece can help elevate jewelry photographs and make people forget that there is no model in the first place.
How to Light Jewelry Photos
The lighting for jewelry photos is important to get right. If the lighting is inconsistent or improper, certain parts of the jewelry could be washed out, too dark, or altogether disappear.
Lighting for jewelry should be consistent from all angles and bright. It is important that the lighting is bright enough to capture any details in the jewels and metal. Because most jewelry is so small, this becomes even more important. Use as many lights as possible to achieve consistent lighting across the jewelry’s surface.
Be sure to use lights above the jewelry as well, as this will even out the lighting and possibly help reflections. For more information, B&H, a well-known photography brand, has released a fantastic YouTube video (seen below) going over more specifics.
Be Sure to Not Capture Any Reflections
Reflections are the bane of any jewelry photographer. When capturing any material that is so reflective, such as diamonds, pearls, or any properly shined jewelry, it is difficult to avoid reflections. However, any time that a photographer, a light, or an extra thing is reflected in the shot, it could cause customers to become confused about what is being shown.
To avoid reflections, stand as far back as you can and use a macro zoom lens. This will allow you to avoid reflection, get the angles you need, and capture all the important details.
Reflections mostly happen due to poor lighting. Use two large overhead lights above the jewelry, diffused to soften the harshness. Be sure to shoot on a matte background, such as a white or black piece of paper. Finally, reflect the light back toward the jewelry and away from the setup to not only prevent reflections but also enhance the lighting.
Have Focus on the Whole Piece of Jewelry
Especially when taking product shots of the jewelry, it is important to keep a steady focus that allows for all pieces of the jewelry to be sharp and clear. It can be tempting to use artistic focal lengths that allow the piece to drape into the corners or have other effects, but this often can confuse buyers.
Clarity is one of the most important aspects of buying jewelry, so people want to see how sharp the gems are. This means that choosing a good focal length and keeping the whole piece in focus is vital to getting good product photography shots.
If you are taking photographs for promotional or fashion purposes, this rule can change a bit. It is still vital that the jewelry be clear, but some minor focal length changes are acceptable.
Photographing Jewelry with Ease
By following these tips on how to photograph jewelry without a model, you’ll be confident in these skills pretty quickly. Do you have a favorite way to make a necklace or ring pop without a model? Let me know! I'd be happy to feature some great creatives on here!