Shooting with DSLRs is tough, especially when environmental conditions are in flux. You may be shooting one minute indoors, only to go outside and discover that your current settings are inadequate for the new lighting. When you find yourself in such circumstances, you have to know how to adjust your exposure to get the perfect shot, no matter the brightness surrounding your subject.
A lower ISO setting is not always better when shooting professionally (or leisurely). How you adjust your ISO is dependent on the environmental conditions around you. For example, a low ISO of 100-200 is best in sunny conditions. On the other hand, high ISOs of 1600+ are best for low-light environments.
ISO is, admittedly, one of the least understood (and most confusing!) controls on the camera. It's difficult to determine whether a particular environmental circumstance calls for a low ISO setting. The general rule is to reduce the ISO in low light, but there are many caveats to this standard. To improve your knowledge of your camera's controls, and enhance your photo quality, consult the in-depth guide below.
Table of Contents
Is Lower ISO Always Better?
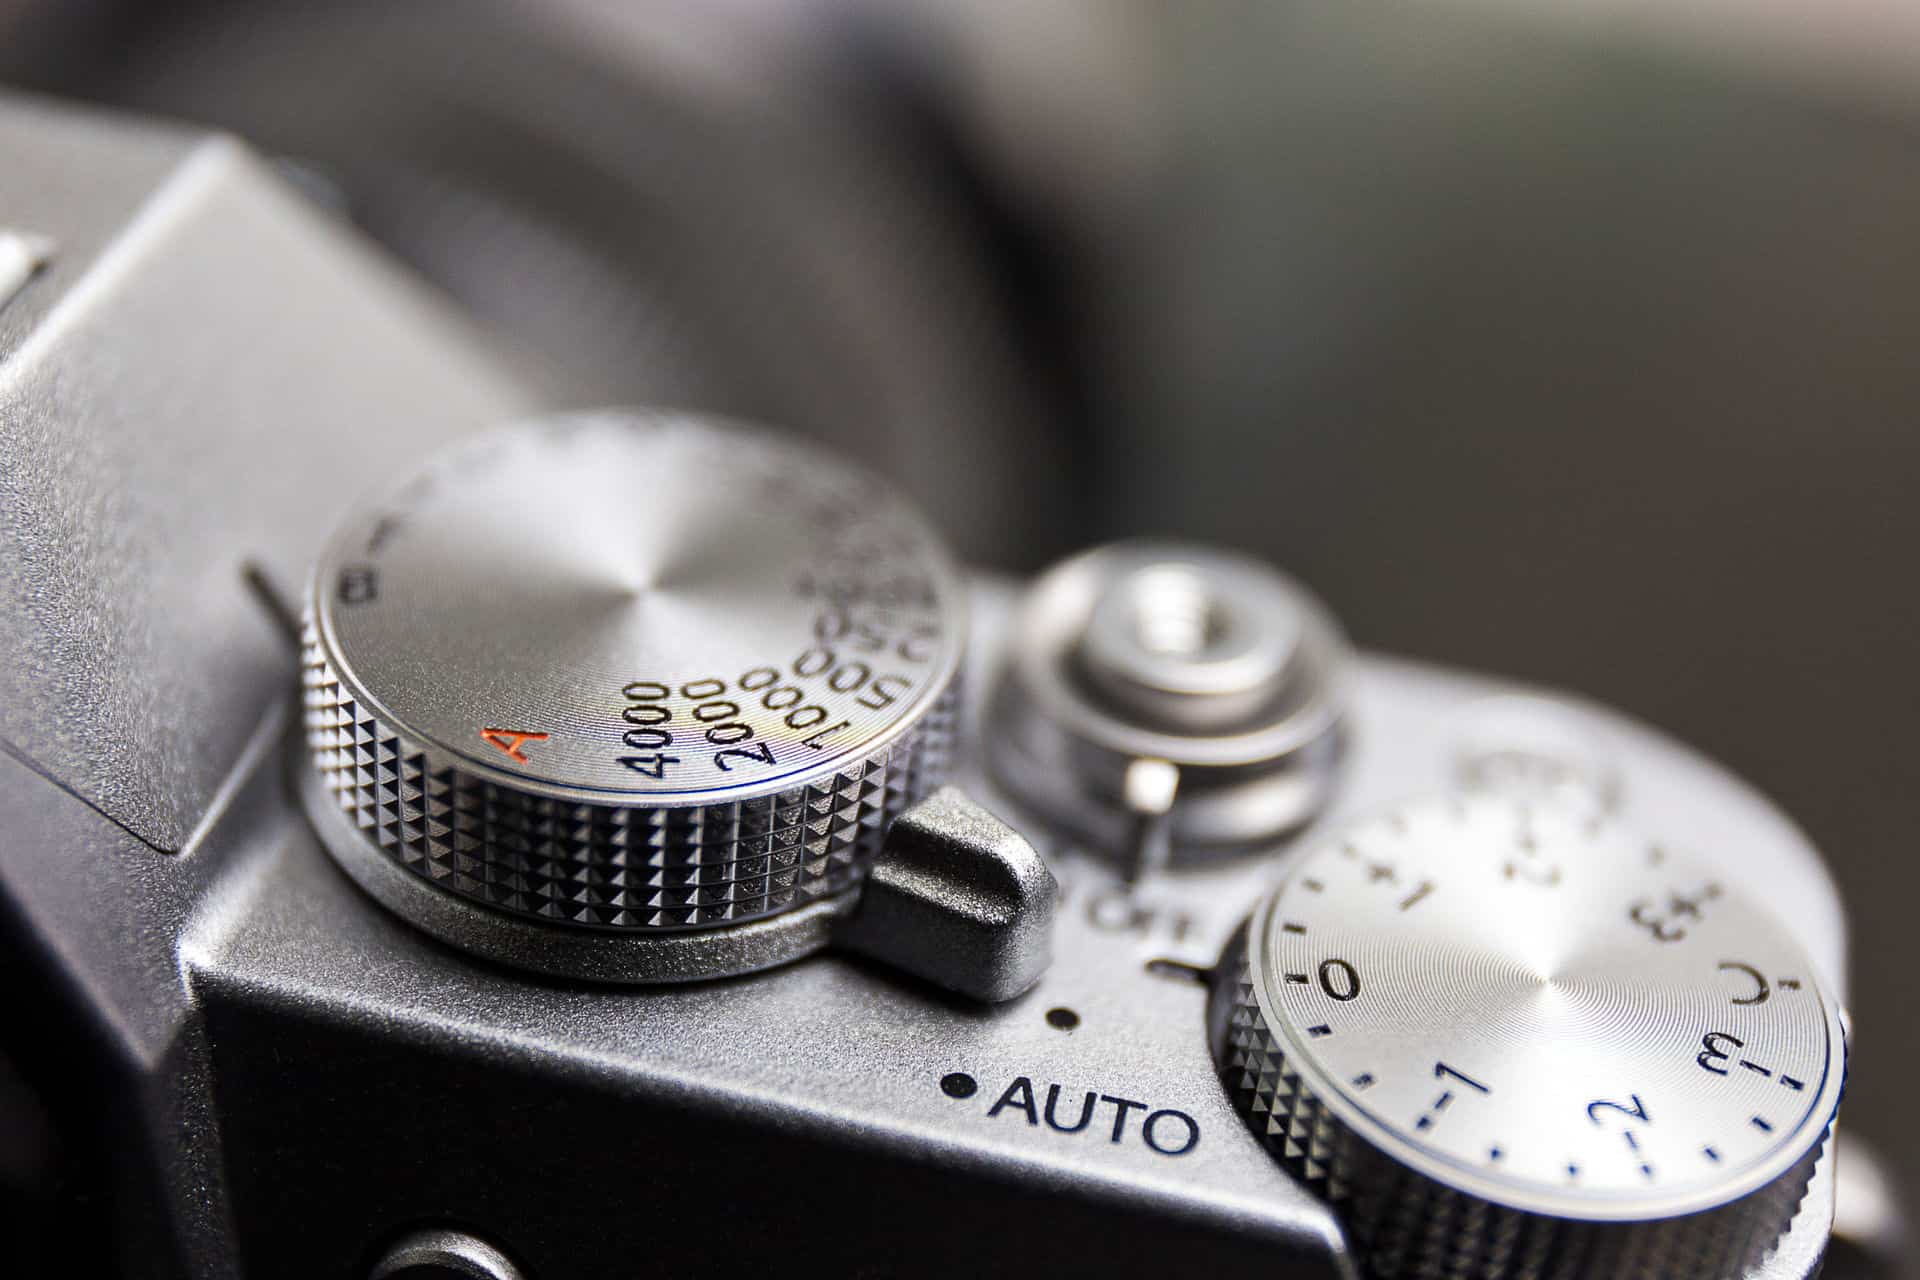
The ISO (International Standards Organization) setting that you use when shooting depends on a variety of environmental factors. This means that the intensity of the ISO is not necessarily always best when it's lower. Instead, it should be adjusted according to the lighting conditions you're working in.
Note: The ISO gets its name from the fact that it is an international standard that applies to cameras across manufacturers and models.
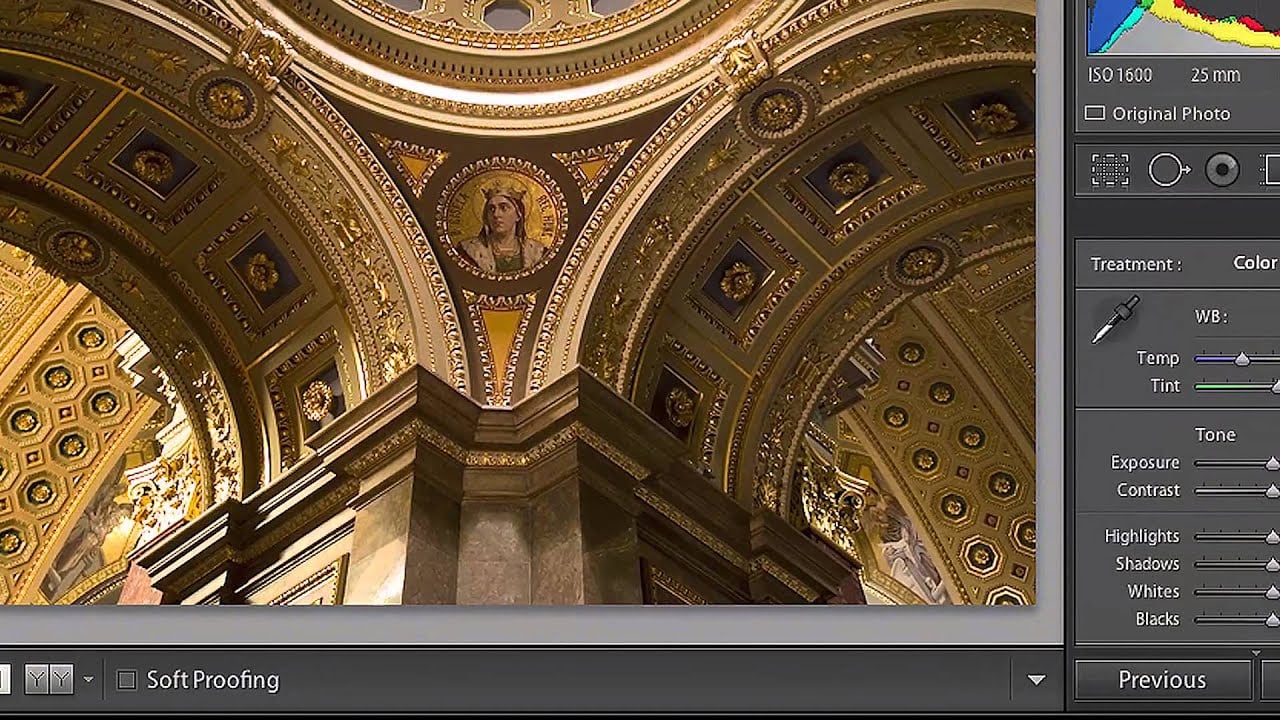
For example, imagine that you are photographing a subject in a high-light situation. If you have the opportunity to use a tripod along with your camera, it will best to select an ISO setting of less than 400. Well, what’s the tripod for? This will keep your camera still enough to allow for a long exposure to pair with the low ISO. (Source: Digital Photography School)
When using a lower ISO, prolonged exposure is necessary to allow the camera’s sensor to receive more light. This creates a higher quality, well-exposed image.
This technical combination will nearly always create better photos as a result of the following aspects:
- Little to no digital noise
- Richer colors
- Better contrast
Keep in mind that this is situational. There are numerous circumstances in which a higher ISO setting would better contribute to a high-quality photograph.
When Would a Higher ISO Setting Be Better?
Not every situation in which you will be shooting will have an abundance of light. For instance, you might find yourself photographing a subject at night or in a poorly lit building. If so, keeping your camera on a 400 or less ISO is not ideal here. Why? A lower ISO will not allow you to take in as much light as it is designed to minimize the amount of light taken in by a bright environment.
Think of the ISO as the bodily function that controls the size of your pupil. When you lower the ISO, that is shrinking your pupil, say, when you’re outdoors in bright sunlight. Raising the ISO, on the other hand, will widen your pupil so that you can see better in poorer conditions.
If the ISO, along with the f/stop (aperture) and the shutter speed, were to remain high, this would overexpose your photo. The result would be harsh, with a visually painful glare, because of the overwhelming amount of light received by the sensor.
When you raise your ISO for shooting in a bright environment, you effectively increase the sensitivity of the camera’s sensor so that it picks up more light. This means that it needs less environmental light to reach the sensor to create an image that has decent exposure. (A higher ISO setting does not necessarily need a long exposure to work correctly.) However, there are some caveats to using a higher ISO setting.
Caveats to Higher ISO Settings
Higher ISO settings can be used in circumstances with low light. However, there are some drawbacks that you must work around to have a beautifully exposed image.
For example, the technical quality of your photograph may be affected in the following ways:
- The color saturation may be lower. This will result in a far less vibrant image that may be perceived as dull.
- There may be more digital noise in the picture.
- The contrast will be relatively poor.
Of course, these effects are highly dependent on the particular setting you have your ISO on. Additionally, the type of camera you have will have substantial influence over the sensor's performance concerning ISO. As the technology of camera manufacturing improves, camera sensors become increasingly sensitive. So, ISO adjustment may have to change along with these changes.
What does this mean for your camera? If you have an older model, the sensor may be less sensitive than newer releases. This means that you may have to overcompensate for lighting conditions by exaggerating the adjustments of your ISO.
Further, different camera models have varying degrees of minimum and maximum ISOs. For example:
- The Canon Rebel T6i has a standard ISO range of 100 to 12,000. This range can even be expanded to reach a maximum of 25,600.
- On the other hand, the Canon 5D Mark IV has a standard ISO range of 100 to 25,600. This can be expanded to a maximum of 102,400.
Be aware that a more expansive ISO range for improved sensors does not necessarily mean that there will be less noise. A better range is also not indicative of a better performance in low light. The only way to be sure of how your camera will perform with higher or lower ISO is to take it out and test it.
Does High ISO Make Pictures Grainy?
Unfortunately, the use of higher ISO settings comes with some significant drawbacks. The most notable disadvantage of this feature, although advantageous, is the 'grainy' look that results from the heightened sensor sensitivity. Raising the ISO generally decreases the quality of the image (That is, if the ISO is misused alongside the aperture and shutter speed adjustments.) (Source: Nikon USA).
Higher ISO settings are generally associated with an increased presence of “digital noise” in the photograph. In the past, cameras crossed the threshold of noticeable noise at around 800 ISO. This setting would be considered to be relatively low for this effect today. Nowadays, most DSLR (digital single-lens reflex) cameras can surpass this by quite a margin.
Today’s cameras can get up to an ISO of 1600 before getting too grainy. Of course, this depends on the model of your camera and the skill with which you use it.
How does this noise, or graininess, happen?
- Size of the pixels. Depending on the model, the camera’s sensor may record pixels that are either large or small. The larger the pixels, the less noise you will observe in the image. DSLR cameras tend to work with larger sensors and pixels so that you will experience less graininess in your photographs. Photos from compact cameras, then, will have a much grainier look, due to the smaller pixels.
- Noise reduction methods. As previously mentioned, the ISO setting is not the only tool used to manage light sensitivity. This setting must be balanced along with several other elements to ensure the image is as high-quality as possible. For this reason, cameras are made with processing technology to ‘clean up’ every photo shot. Newer cameras are better equipped for processing than older ones.
Whether they are large or small, each pixel is inclined to pick up a certain amount of noise. In addition to the processing technology in the camera, it's your job as the photographer to balance the image properly. What does this mean? This means using the aperture, shutter speed, ISO, and any environmental elements together in a way that produces the best exposure for your shot.
How to Avoid a Grainy Photograph
Recall the influence of pixel size in the grainy appearance of photographs. An additional aspect of the influence of pixel size is the grouping of pixels to assist exposure. As you increase the ISO, the sensor changes how it functions. How? It combines the pixels to capture higher concentrations of light, supporting better exposure.
When the pixels are grouped, this contributes to the noise in the photo. This happens in every camera sensor, whether the pixels are large or small. Still, the combined, larger DSLR pixels do not create as much digital noise as many tiny pixels coming together.
If you want to avoid the grainy look of a typical high ISO photo, take any of the following precautions and alternatives described here:
- Set the aperture to a higher setting. If you wish to stay at the lowest ISO possible, you can use the aperture to bring more light into the camera instead. Usually, the widest aperture setting is f/2.8. Using this setting will increase your exposure while avoiding the noise brought on by high ISOs.
- Use a flash. Of course, to add more light to the environment you’re shooting in, you can always use a flash. Be careful with this, however, since the light from a flash can be quite harsh. This may not provide the naturally well-lit aesthetic you’re seeking.
- Shoot in RAW. RAW files (also see RAW video below this list), along with NEFs, are ideal for removing noise from photos during the editing process. A RAW file (also known as a ‘digital negative’) is comprised of everything that the sensor gathered at the moment of capture. The camera does minimal processing with RAW files, so you have greater control over features such as noise reduction and sharpness. If there was any noise in the original image, you could remove this later with editing software.
- Note: Shooting in JPEG with a high ISO setting will worsen digital noise. This is because, with this file type, the camera compresses the photo during processing. This is also why JPEGs offer significantly less control during editing than RAW or NEF files.
- Be mindful of long exposures. While long exposures can be perfect for the quality of your photo, they can also present some drawbacks. Exposures that are too long can cause the sensor to overheat. This causes the pixels to be rendered improperly, resulting in poorly recorded coloration, and of course, digital noise.
(Source: Digital Photography School)
For all of these alternatives, it’s best to take your camera out for a test shoot. Testing will increase your familiarity with your camera’s limitations. It will also assist you in determining what alternatives are best to use as opposed to ISO in certain circumstances. Try out different shutter speeds, apertures, and lighting conditions to familiarize yourself with your camera’s performance.
This way, you will be aware of the ‘grainy’ threshold and can make the appropriate adjustments with precision.
What Is the Difference Between Grain and Noise?
As we’ve established, digital noise is the effect achieved when using high ISOs, as a result of both pixel size and grouping. Thus far, the terms ‘noise’ and ‘grain’ have been used interchangeably, but that is not quite reflective of their distinct definitions. (Source: Photo Focus)
Before ISO, this facet of balancing exposure in photography was known as 'ASA' (American Standards Association). ASA fell away from its original significance when the new standard, ISO, was adopted internationally. While each is related to increasing or decreasing the sensor's sensitivity, they come with separate terminology. (Source: Techwalla)
ASA was more related to cameras that used film, rather than digitally recording images. Any grain that was found in images was a direct result of the film's chemistry, as it related to capturing light. Now, 'noise' has replaced this term to refer to the digital defects of the photo's pixel composition. While they both are used to describe aesthetic flaws in photographs, they do have slightly different connotations.
Does High ISO Affect Sharpness?
One of the effects that you may observe with a higher ISO setting is reduced sharpness. Although this effect is possible, it is not guaranteed. As this example demonstrates, the level of sharpness achieved in a photograph is not affected by ISO alone. Instead, sharpness is a result of several elements interacting with one another.
One of the primary factors that will either enhance or reduce a photograph’s sharpness is the camera lens. As this example demonstrates using a Canon 5Ds 85mm f/1.2 lens, increasing the ISO does not significantly harm the sharpness of the image. As the ISO is raised, the detail in the photo begins to wane very slightly. (Source: dphog, or see video below)
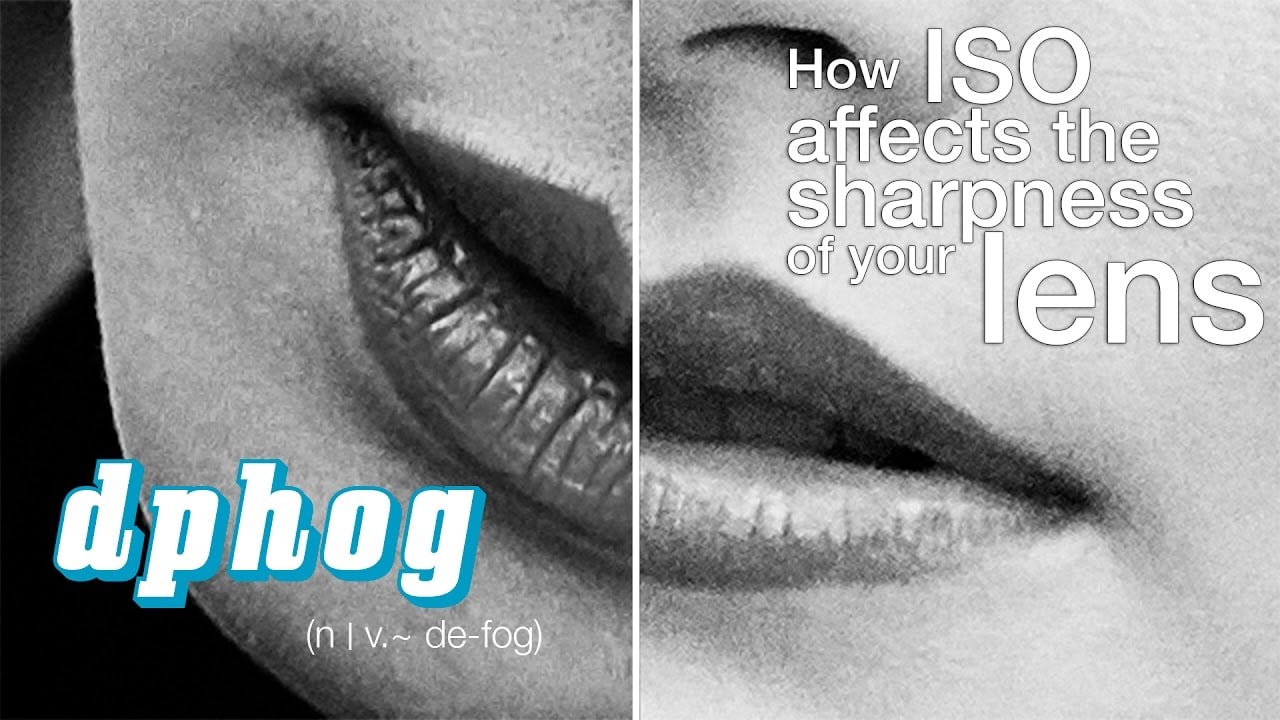
Between a 320, 640, and 2,000 ISO, the viewer hardly notices the difference in sharpness. The reduced detail is noticeable only upon zooming in tremendously on the image. When viewed as intended (without zooming), the image would only look softer. Even with this softness, the photograph retains its high-quality detail.
When using the high setting ISO of 3,200, the photo was still remarkably detailed, not having lost any noticeable sharpness – at least, at first glance. The degree to which you notice the lost sharpness of your image depends mostly on how you will be viewing it, and what you are trying to achieve.
For instance, if you are going for a softer look (somewhat characteristic of vintage photography), the reduced sharpness is not detrimental (It would also hardly be noticeable in this circumstance). However, if you’re aiming for a different aesthetic, the lost sharpness may be undesirable. Further, you are sure to notice the difference when comparing photos to one another.
How to Know When to Use High or Low ISO
Of course, as covered above, the ISO setting you choose is highly dependent on the surrounding lighting conditions. In a dark area, you would need to raise ISO, whereas, in lighter conditions, lowering it is best. While this is perhaps an essential rule about ISO adjustment, it is not the only one.
There are many conditions in which you may want to adjust this setting for other photographic needs. For example, unrelated to lighting, you may need to raise your ISO in the following circumstances:
- If you need to capture swift movements (This should be paired with fast shutter speed).
- Why? A low ISO in this scenario increases the chance of blur in your image. Recall that a lower ISO setting reduces the sensitivity of the sensor. A subject that is moving quickly requires higher sensitivity to record as much of the scene as possible in the still frame.
- If you are shooting with a deep depth of field (This should be paired with a small aperture).
- Why? You need to capture as much as possible in your frame. The heightened sensitivity of the sensor will ensure that everything, even objects that are at a distance, will be depicted in the final photograph.
- If you wish to use only a small version of the image (i.e., if you plan to publish it only on social media).
- Why? It is markedly more difficult to detect noise and reduced sharpness in such a small photograph. You can get away with these flaws if viewers will only experience the image on a small screen.
- If you are aiming for a specific aesthetic.
- Why? Graininess in photography is not always bad! It’s quite a subjective matter. With this in mind, a ‘noisy’ photo can look quite beautifully when shot with care. If your goal is to create a vintage look in your gallery or portfolio, you might prefer to use high ISOs.
(Source: Digital Trends)
ISO is especially crucial when using a camera that does not allow for the manual adjustment of each control. For example, if you are working in a low-light situation, but cannot widen the aperture manually, increase the ISO instead. This will result in the camera adjusting both the aperture and the shutter speed as necessary.
When can you lower your ISO setting?
- When you are shooting in conditions with shallow depths of field (Use a wider aperture for such circumstances).
- Why? There is not as much sensitivity required when all the objects in the frame are relatively close. A lower ISO will perform just fine in this scenario and yield the desired exposure.
- When shooting with artificial light.
- Why? The sensor will not be required to detect as much light in the environment since the scene will be flooded very quickly with artificial light. A lower ISO in these conditions would reduce the amount of work demanded from your camera and sensor.
How to Know When to Use a High ISO or Slow Shutter Speed
As you’ve come to understand by now, the ISO is just one part of a trifecta that controls the exposure of your photo. Still, there are times when adjusting the ISO may not be necessary, and you should shift your focus to other controls instead. For example, there are circumstances in which you may want to adjust your shutter speed instead. (Source: Adorama, or watch video below)
This is different from indirectly controlling the shutter speed by adjusting the ISO on an automatic mode. Controlling the shutter speed individually is a feature that is unique to DSLR cameras that are in full manual mode. Ensure that your camera is set to manual controls, and survey the conditions in which you’re shooting.
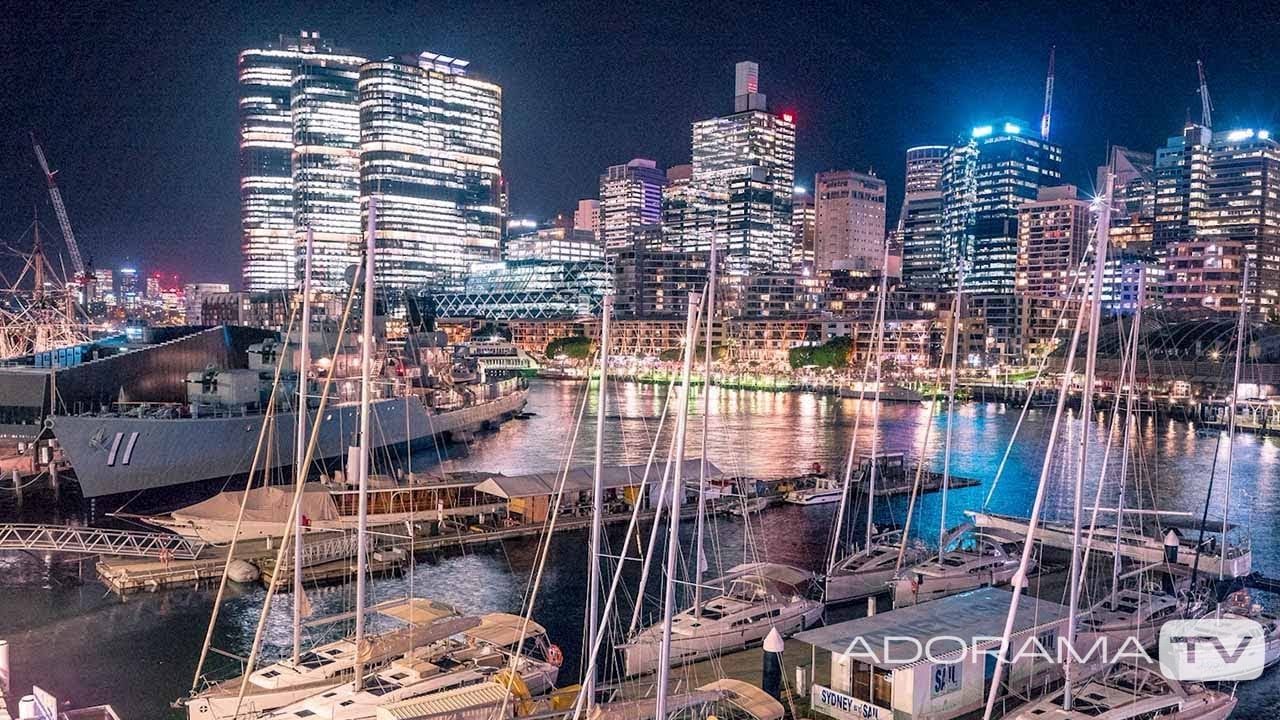
Are you attempting to capture water in your still image? Water tends to look significantly better with slow shutter speed. While the camera will capture slight movements of the water, the other elements in the frame should remain still. This will give your image a dynamic of fluidity that cannot otherwise be achieved. Of course, for shots like these, you will surely need a tripod to prevent excessive blur.
According to some, most nighttime photography is better suited by slow shutter speeds, as opposed to high ISO settings. Why? Given the dark background of the night sky, noise tends to be much more noticeable. This can be avoided by adjusting other features of exposure instead. However, if you want to capture moving elements in your images or work without a tripod, a higher ISO is best.
See the table below for a quick reference on when to use a high ISO vs. slow shutter speed.
| Slow Shutter Speed | Higher ISO | |
| Best circumstances? | With a tripod, no moving elements. | Handheld, when significant movement is involved. |
| Examples | Landscape photography Portrait photography | Weddings Birthday parties City nightlife |
Best ISO Settings to Use According to Situations
As discussed earlier, different camera models have drastically varying ISO ranges. This can make it tricky to determine what ISO setting is best for specific situations. Fortunately, there are general rules of thumb that you can go by as you familiarize yourself with your camera’s functionality:
| ISO Setting | Shooting Conditions |
| 100 | Use this setting when conditions are bright. Sunny days are ideal for shooting with the lowest ISO settings possible. (Be mindful of your other exposure controls, however! Even with a low ISO, your images are still at risk of being overexposed.) |
| 200 | On cloudy days, you can bump up the ISO settings a bit, even when there is still bright light available. The clouds may create shadows where you don’t want them. So, it is best to increase your sensor’s sensitivity just slightly to compensate for this. |
| 400 | A slight step up in the ISO setting is required if the day is overcast. This is also a necessity if you happen to be shooting in shady conditions. The day can still be relatively bright; however, the boost in sensitivity will, again, prevent unwanted shadows. |
| 800 | This is ideal for shooting indoors, especially without a flash. You have neither the natural light of the outdoors nor the assistance of artificial light to help you. The relatively high sensitivity of the sensor should make up for these conditions. (Source: Image Maven) |
| 1600 | This ISO setting is best for shooting indoors. However, keep this reserved for when you are located in a well-lit room. You don’t need nearly the sensitivity that you would in poor lighting conditions. Yet, the lack of natural lighting requires some help by increasing the amount of light detected by the camera’s sensor. If you are not shooting indoors, this setting is best for the natural light at dusk. |
| 3200 | Try to avoid this setting as much as possible. It will be rare that an ISO setting this high is required. So, get to know your camera to determine when it is and is not appropriate to use such a high setting. Nighttime shooting would, of course, be the most likely circumstance in which you would use this setting. However, if you don’t want too much noise, this can be avoided with a higher quality lens. You can also adjust the aperture and shutter speed instead. |
Typically, 100 - 200 ISO settings are regarded as ‘low.’ On the other hand, anything above 1600 is perceived as ‘high,’ and can result in substantial noise in your image. Four hundred and 800 are typically considered to be quite neutral. Still, that doesn’t mean that they won’t give you any noise.
In Conclusion
Your ISO settings are highly dependent on the conditions in which you will be shooting. Are you photographing a stationary subject at night? Then you may prefer increasing your shutter speed and leaving the ISO alone. Do you need to capture a quick movement in the still image? A higher ISO is best to increase your camera’s sensitivity and ensure you get the perfect shot.
Get to know your camera to learn how it performs in various circumstances. Although there are general guidelines you can follow in knowing how to adjust your ISO to various conditions, nothing beats an intimate knowledge of your photography gear.