Your subject is in focus, and all the supporting details fall into the frame. It’s the perfect shot, but are you using the ideal camera? What makes the ideal camera? Are bridge cameras good enough? Bridge cameras are becoming increasingly popular for their versatility and the high quality images they produce.
Are bridge cameras good for portraits? Bridge cameras provide amateur photographers with a higher tech, relatively inexpensive option for taking high quality portraits. There is only one lens but it is much longer and has greater zoom capabilities and a variety of framing options.
In this article, we will look at the different options provided with a bridge camera and compare them with a compact point-and-shoot digital camera and the more complex digital single-lens reflex (DSLR) cameras. Read on to learn the pros and cons of portrait-taking with a bridge camera.
Table of Contents
Why Use a Bridge Camera Versus a DSLR
Great photography is used to express ourselves:
- Artistically
- Commercially
- Socially
Because we share our lives on social media, a more polished photo is desired than what a point and shoot camera can deliver.
But not everyone can afford a professional grade camera. This is where the bridge camera finds its niche.
It offers more capabilities than it’s compact point-and-shoot cousin and the option to make digital or manual adjustments when setting up a shot.
Bridge cameras have a lot of the same options as a professional camera at a lower grade. It has the complex look of a smaller DSLR camera but is far more versatile.
Perfect for beginning photographers who are ready to expand their knowledge beyond the basics, the bridge allows new users to acclimate to more complex features. These include:
- ISO (International Standards Organization) is a camera setting that will brighten or darken your photo. As you increase your ISO number, your photos become increasingly brighter. As you lower your ISO, you decrease the sensitivity to light.
- Shutter speed - the length of time the camera shutter is open to expose light onto the camera sensor.
- The shutter is the curtain in front of the camera’s sensor. The shutter closes as soon as the sensor has collected light, stopping the light from hitting the sensor.
- Aperture - the opening in the lens through which light passes to enter the camera.
- White balance - this feature allows you to select which objects you want to be neutral (white or gray) and adjust the colors so those objects can maintain their neutrality.
Pros And Cons of Shooting Portraits With a Bridge Camera
The table below summarizes the advantages and disadvantages of using a bridge camera to shoot portraits.
| Pros | Cons |
|
|
The Price Won’t Break the Bank
Bridge cameras tend to range in price from around $200 for the simplest models to $1,600 for models with more features.
DSLR cameras can start off at just over $400 for the most basic models to over $6,000. This does not include the price of external equipment.
| Equipment | Price range | Function |
| Camera bag | $20 - $100 | Used to carry the camera and associated accessories |
| Lenses | $60 - $1,700 | Manipulate the magnification of objects depending on the physical distance |
| Lens Hood | $8 - $700 | Attaches to the front of the camera and blocks of stray light from causing flare in the image |
| External flashes | $30 - $800 | Stronger than the flash that comes with the camera. Can illuminate a greater area. Comes with its own recyclable battery. |
| Super fast SD card | $17 - $230 | Provides high capacity memory in small size |
| UV filter | $9 - $22 | Protects your lenses from cracking when dropped and prevents scratches from dirt |
The higher end models are around the same price as a lower end DSLR camera. Thus the bridge camera is a more financially viable option for amateur photographers.
Fewer Accessories Make it Easier to Travel With
Unlike your DSLR, there is no need to swap lenses with a bridge camera. It comes with one lens that has a larger zoom. While that leads to less control over creating a sharper image, it’s easier set up and less to tote around.
Overall, the bridge is less bulky than a DLSR easier to travel with. The set up required for a good portrait does not require a host of accessories.
Easy to Learn How to Use
The bridge camera is easier to learn how to use than the DSLR. While it has most of the same manual features, it can also be set to automatic settings, taking the guesswork of portrait taking.
The manual that comes with your bridge camera tells you what each control does and provides helpful suggestions for taking the best shots.
Learning how to use a DSLR camera takes a lot of:
- Time
- Practice
- Experimentation
These allow you to become proficient with the DSLR because of the vast array of controls and settings. It’s advisable to take classes or apprentice with a professional to truly master the use of your DSLR.
Zoom and Macro Capabilities of the Bridge as Compared with DSLR
Zoom and macro capabilities are listed in both the pros and cons because there are a range of opinions on this. It depends on what your goals as amateur or professional photography goals are as to whether this is a pro or a con.
The wide range of zoom and macro capabilities offered with the bridge camera lens allows for great closeups—however, the further the zoom, the less sharp the image. If you are not going for absolute perfection, this isn’t a big deal.
Varying lenses used with the DSLR allow for fabulous shots at a range of distances and angles without compromising the sharp lines or causing distortions.
The focal length of the lens determines how magnified the subject will be. As physical distance increases, so does the focal length.
This changes how the subject appears on the image. It is this phenomenon that has led to the perception that the camera adds weight to the subject. With a choice of lenses, the photographer can change the contours, brightness, and color tone of the image.
Inferior Low Light Settings
Most bridge cameras max out at an ISO of 400 while the most sophisticated DSLR can increase ISO to 6400. There are not too many instances where one would need to shoot with an ISO of 800 or higher. It should only be increased as a last resort.
So while this is on the “con” list, having a lower range of ISO settings may not have as much impact for amateurs using the bridge camera.
For the professional, this more important aspect is to bring out the best of the subject and control the blurriness of the surrounding details.
You need to be careful about increasing the ISO because it directly impacts the shutter speed and aperture. As ISO increases, so do the image's susceptibility to "digital noise" or graininess.
There are three main types of light, and each requires a different ISO:
- Visible light is daylight. For the best shot, you can decrease the shutter speed and lower the aperture while keeping the ISO as low as possible.
- Low light is present after sunset or indoors. While you may want to increase the ISO a bit, be mindful that it will affect the shutter speed and aperture. It’s also advised to shoot in RAW to process the purest aspects of the image.
- Dark light is what is present at night or a dimly lit indoors space. Depending on how dark it is, you may need to increase the ISO significantly. In doing so, consider decreasing the shutter speed and aperture if possible to reduce the photo's graininess.
When shooting in different light conditions with a bridge camera, use the vibration reduction (also called vibration compensation or optical image stabilization) setting to combat any shakiness when shooting.
If you are using a DSLR, shakiness will be less of an issue because shutter speed, aperture, and ISO can be fine tuned.
Beneficial Features of the Bridge Camera
In a nutshell, a bridge camera is a compact camera in the body of a DSLR (or a mini DSLR) with a high magnification zoom lens with a small sensor (around the same size as a compact camera).
In general, most bridge cameras offer the following features:
- Range of control similar to a less complex DSLR
- Mode dial and direct buttons for ISO and White Balance
- Manual controls over shutter speed aperture
- HD video
- Wi-Fi and Bluetooth
The size of a camera's sensor, in conjunction with the density of the pixels on it, are the factors that determine image quality.
The crowning glory of the bridge camera is its lens. The more modest options offer at least a 20x zoom with your more sophisticated models going up to 50x.
Manual controls are one of the most important features of a bridge camera. They allow the photographer to manipulate light and speed, giving them greater creative control over the shot.
Your average bridge camera’s lens at maximum length is equivalent to 500mm on a DSLR camera. The widest range you can get for a DSLR is 18-270mm, which has a 15x range.
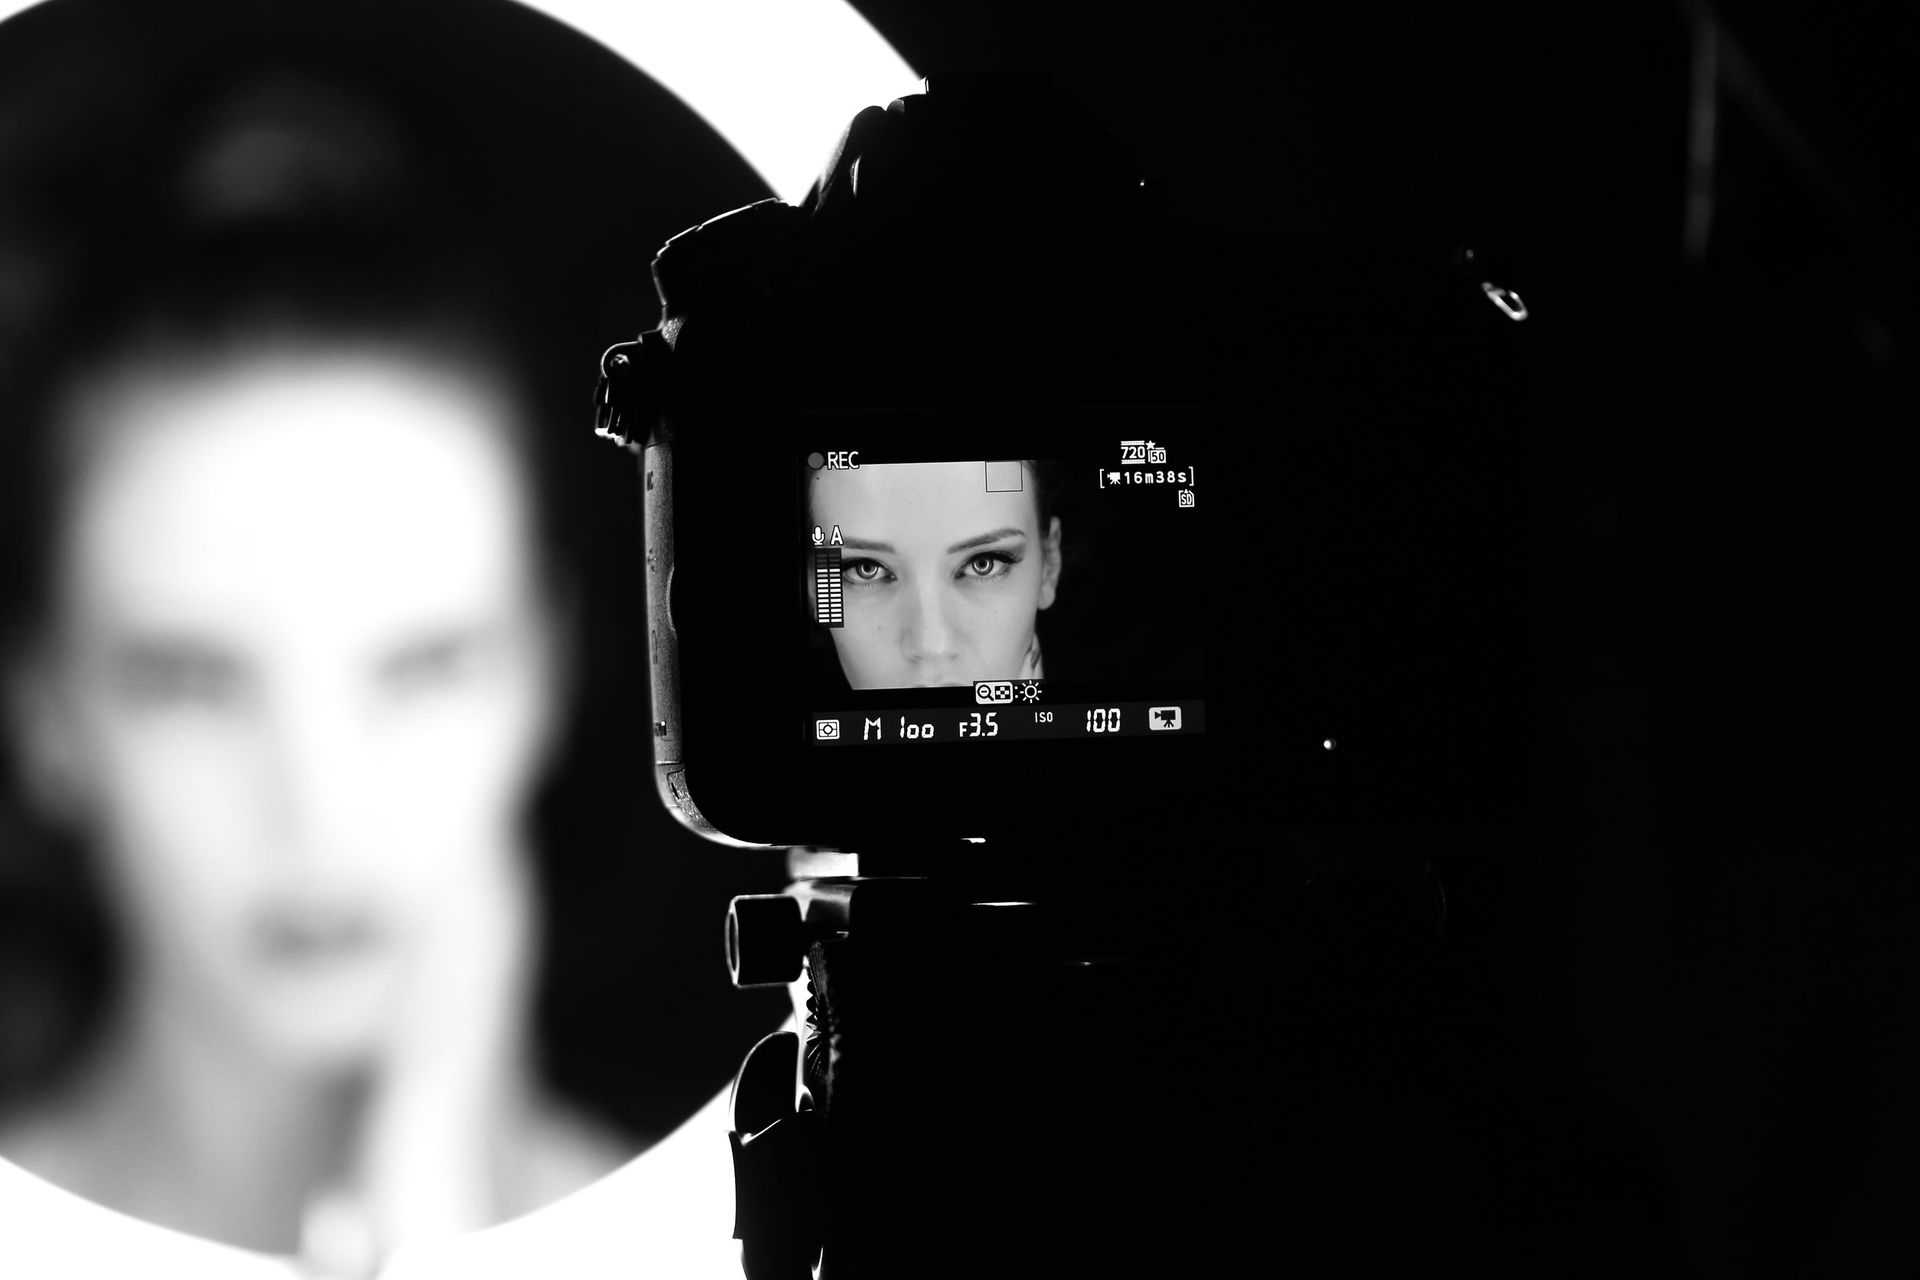
Bridge camera users can compose shots using either the electronic viewfinder (EVF) or the LCD screen. The EVF provides a more accurate representation of the exposure and white balance. Some LCD screens are articulated for shooting at various angles and for self-portraits.
Comparison of Different Bridge Cameras and Their Capabilities
Choosing a camera can be a daunting task, with so many different options available. All of the leading camera manufacturers have their version of a bridge camera.
The table below compares some of the most popular models, their features and functionality, and the pros and cons of each model.
| Camera | Options and functionality (Pros) | Cons |
| Sony DSC - RX10 III |
|
|
| Panasonic Lumix FZ2500 |
|
|
| Panasonic Lumix FZ80 |
|
|
| Nikon Coolpix B700 |
|
|
| Panasonic Lumix FZ1000 II |
|
|
| Sony Cyber-Shot RX10 IV |
|
|
| Canon Powershot SX70 |
|
|
| Sony HX400V |
|
|
| Canon PowerShot G3X |
|
|
| Nikon Coolpix P1000 |
|
|
Setting Up the Perfect Shot
You will be glad you bought your bridge camera when setting up that perfect wildlife shot or action shots at your kids' sporting events. But setting up the perfect portrait is where the bridge camera's incredible zoom comes into play.
However, the digital zoom reduces image quality, so there are some shots where you will need to decide which is more critical for that portrait. With a DSLR you do not have to choose between distance and image quality.
Bringing Your Portrait to Life
Your bridge camera is ready to go, and you have a vision for a breath-taking portrait. How do you turn this vision into a portrait that will captivate viewers and evoke beauty and raw feeling? Here are some tips on how to create your picture-perfect portrait:
- Focus on your subject - It’s essential to focus on the subject and get the background out of focus. You can achieve this by using single point focus. If one part of the subject is closer to the camera than another, focus on the closer part.
- As mentioned above, you will want to experiment with the white balance, ISO, aperture, and shutter speed to achieve the right lighting and accentuate the most flattering skin tones and coloring.
- Experiment with poses until you capture your subject at an angle that accentuates their best features.
To Enhance Your Portrait
- Consider using a remote trigger if you have one to achieve a sharper, cleaner image by avoiding camera shake when pushing the button.
- Shoot in RAW format to better adjust the exposure and white balance (raw images contain minimally processed data from the image sensor).
Prepping Your Camera For the Perfect Shot Using Your Bridge Camera
You’ll want to consider the following steps as you are setting up your portrait:
- The main focus is on getting the lighting right in the background and foreground. If possible you want your ISO low (100 - 400). If you are using a faster shutter speed, the ISO should be higher.
- When setting up your perfect portrait shot, first, you want to set the autofocus to a single point and use back button focus.
- Drive mode should be set to single shot. This is not a situation where you need a photo burst. Perform each click of the shutter with artistic intention.
- Make sure you set the aperture between f/2 and f/4 for a single subject with the background out of focus. If it is a group shot, the aperture should be f/5.6 - f/8.
- Choose your shutter speed according to your subject. If you are shooting an adult, they can probably stay still more readily than a child so you can go with a lower speed such as 1/15th. If you are working with kids or a group, make the shutter speed faster. Start at 1/25th. You can adjust as necessary.
- For white balance it may be best to use your preset features such as Daylight, Shady, or Night to let in the most flattering tones.
- If using a tripod, shoot in manual mode. In addition to slowing down the exposure, it allows you to choose all of your settings. It also keeps your exposures consistent.
- If you don’t have a tripod, you'll want to use the image stabilization feature to mitigate the effects of your hand shaking. For a completely blur-free portrait you will need to use a tripod.
The Final Verdict: Are Bridge Cameras Good For Portraits?
Based on the features and capabilities that bridge cameras bring to the picture (pun intended), if used intentionally, the bridge camera is a good camera for crafting an amazing portrait.
For a much lower price, the bridge camera offers more photo features than your typical compact point and shoot camera. Manual controls also offer more in-depth, creative control over the outcome of the image.
Some professional photographers have even started experimenting with bridge cameras during professional photo shoots with exquisite results.
Is it better than a DSLR or a professional grade camera? You won’t get quite the professional touch that you would with a professional camera, but again, for the price, and with some skill, you can set up and bring to life amazing portraits.
While not as bulky as a DSLR, a bridge camera is still bulkier to carry around than a point and shoot or a smartphone.
The bridge allows more control over the following features:
- ISO
- White balance
- Shutter speed
- Aperture
It still does not provide the same range of adjustment and the ability to fine tune each until blur and graininess are completely eliminated.
If you’re interested in broadening your photographic horizons and maintaining creative control but not too hung up on absolute perfection, then you will be able to create stunning portraits with impressive results. If you are interested on how to price these amazing portraits, be sure to check out the article on How to Price Your Portrait Photography.